Build Custom Shapes
Plan Your Clip Shape
Design a shape in Keynote and calculate the coordinates.
Estimated time to complete this tutorial:
20 mins
Design a shape in Keynote and calculate the coordinates.
Estimated time to complete this tutorial:
20 mins
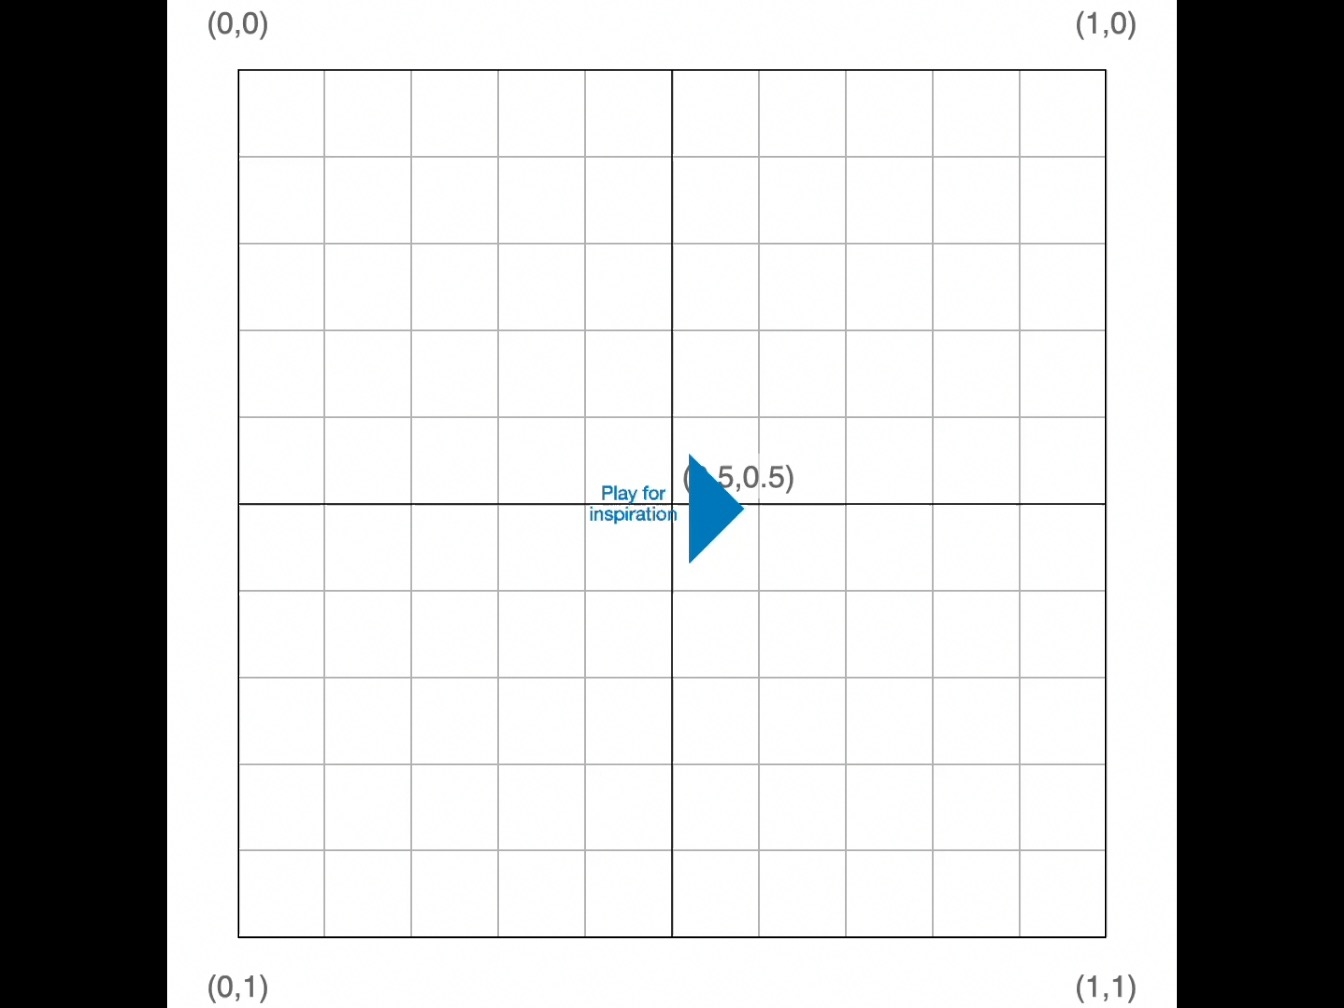
Use a 1x1 grid to design a clip shape in Keynote.
Step 1
Clip shapes are like cookie cutters. By applying a clipping shape to a view, you preserve the parts of the view covered by the shape, while eliminating the rest.
For best results, make a shape that’s open in the middle.
Step 2
Watch this video to preview how you’ll use a 1x1 grid to plan your shape.
Step 3
Notice where the origin, (0,0), is on the grid. When creating a shape, the origin is at the top‑left corner of the screen, unlike what you might see in a geometry class.
Step 4
Draw your shape. Tap Shapes to add a shape or build a shape using lines.
Step 5
Add the coordinates for each line segment, (x, y), to your shape.
Use your coordinates, and the width and height of the view, to create a shape that adjusts to different view sizes.
Step 1
Combining your coordinates, with the width and height of the view, ensures your shape will keep its relative dimensions, even when the size of the view it’s in changes.
Step 2
Preview how to multiply your coordinates by rect.width for the x values and rect.height for the y values.
Step 3
Copy and paste your shape and coordinates. Then edit your coordinates to multiply the x values by rect.width, and the y values by rect.height.
Step 4
Give your shape a name.


