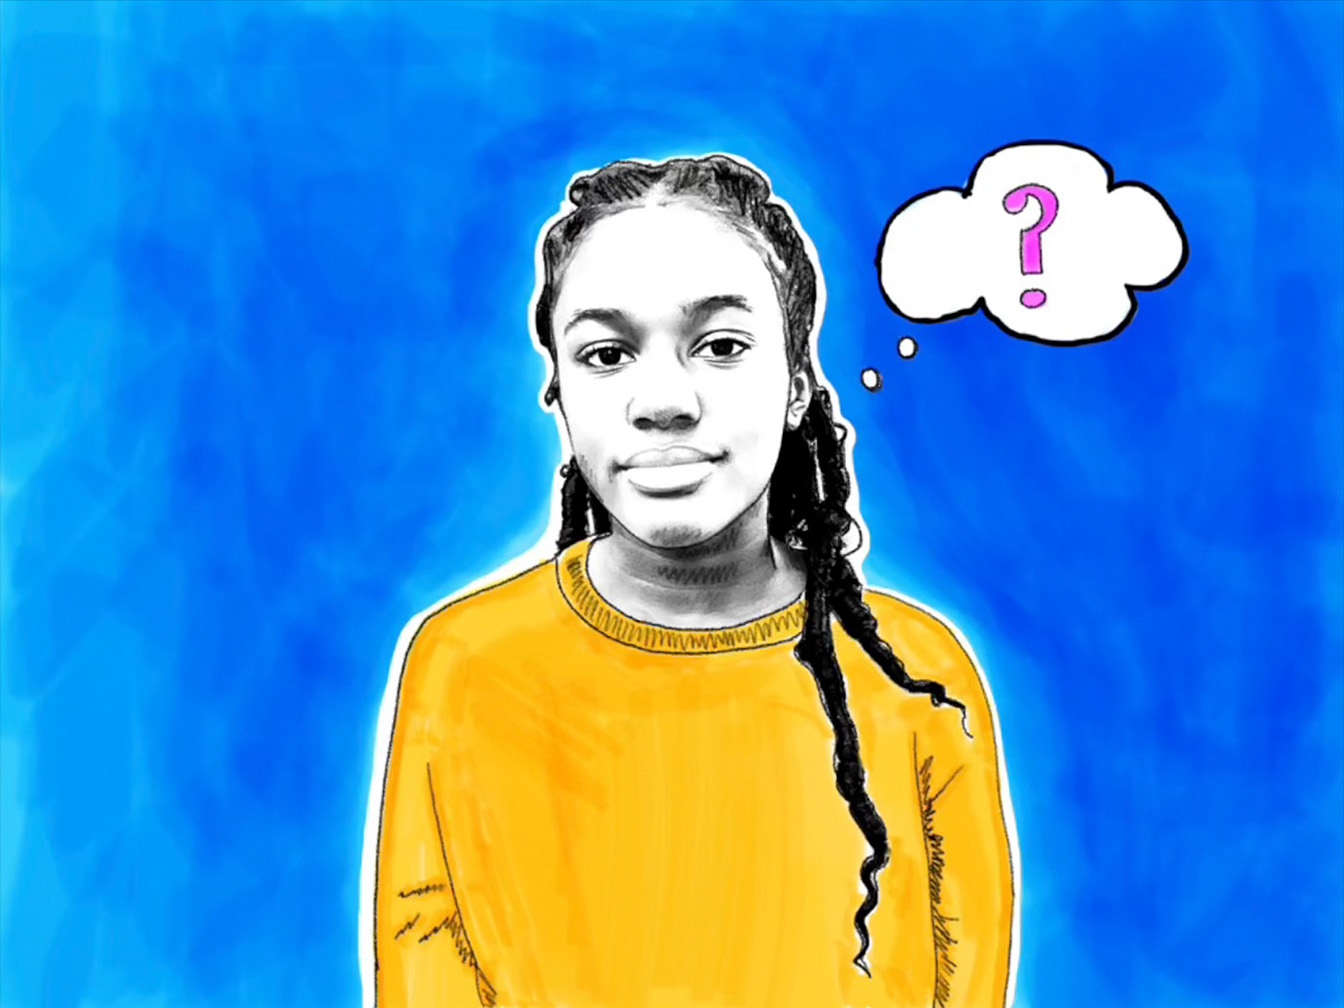
Create Pop Art
Colour and Draw on Your Photo
In this tutorial, you’ll use Markup in Photos to create a striking pop art portrait.
Estimated time to complete this tutorial:
15 mins
In this tutorial, you’ll use Markup in Photos to create a striking pop art portrait.
Estimated time to complete this tutorial:
15 mins
You’ll use the highlighter to make a colourful background.
Step 1
Tap Markup .
Tip
Drag the Markup toolbar to move or minimize it if it’s in the way.
Step 2
Tap the marker.
Step 3
Tap it again to open the settings.
Step 4
Select a medium-size tip.
Step 5
Drag the slider to the right for full opacity.
Step 6
Tap the colour picker.
Step 7
Choose a bright shade from the grid to colour your background.
Step 8
Tap outside of the menu to close it.
Step 9
Colour the entire background, varying your stroke direction throughout. Add extra layers for richer colour.
Tip
For best results on smaller details, pinch out to zoom in and switch to a smaller tip.
Step 10
Use the eraser tool to remove colour on any areas that cover your subject.
Tip
Pinch in to zoom out.
Tip
Tap Undo at any time if you make a mistake, or tap Redo if you change your mind.
Next, you’ll sketch out borders and redraw details on your portrait.
Step 1
Tap the pen tool.
Step 2
Tap the colour picker.
Step 3
Choose white from the grid.
Step 4
Tap outside the menu to close it.
Step 5
Tap the pen tool again to bring up the menu, and select a large tip.
Step 6
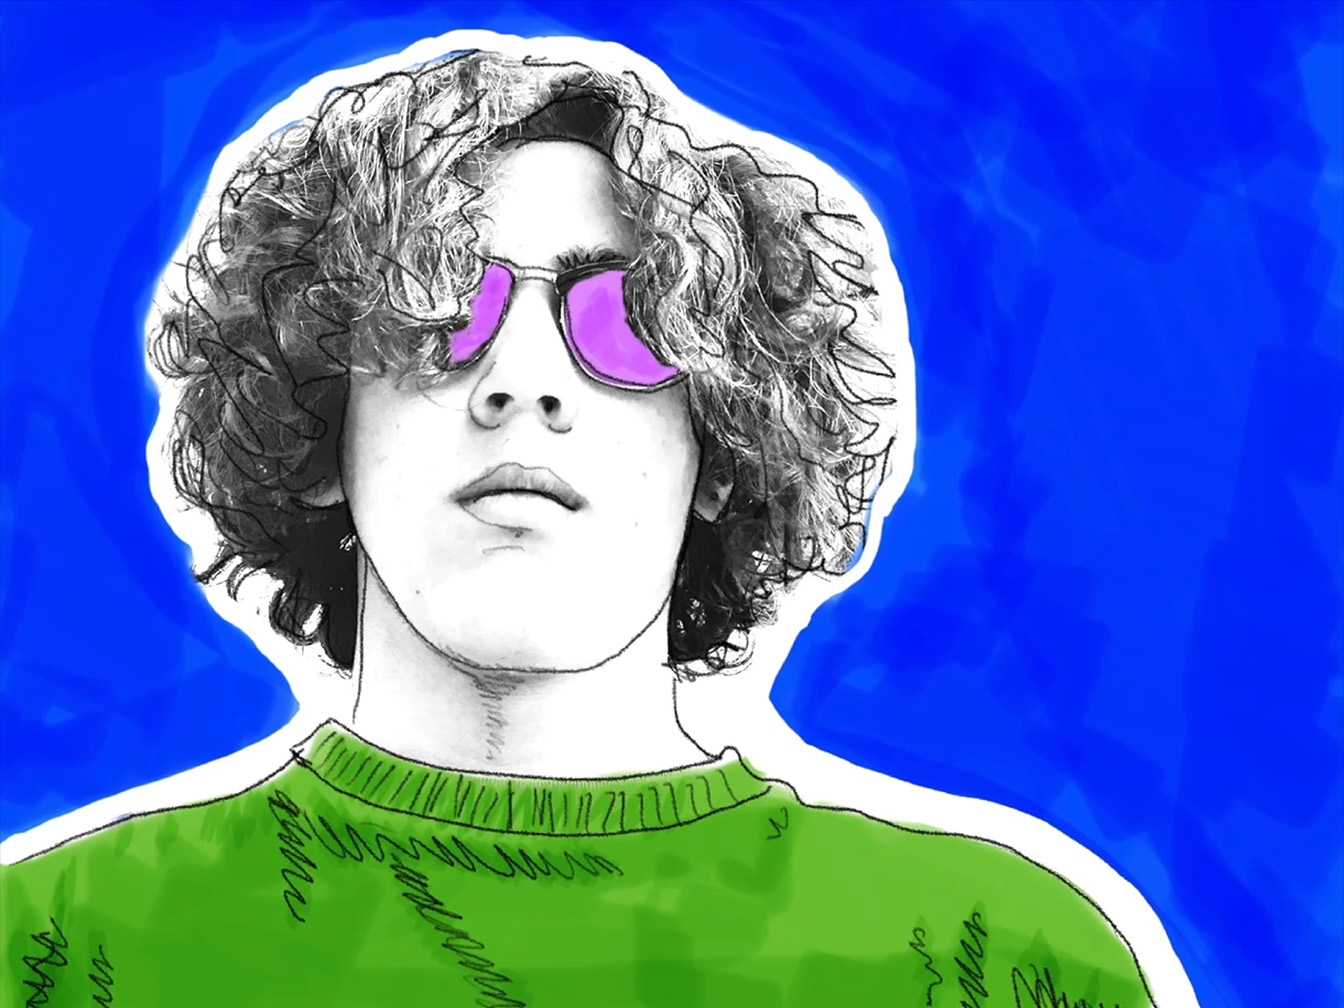
Draw a white outline around the entire subject to create contrast and give a cutout look.
Step 7
Next, tap the pencil tool.
Step 8
Select black.
Step 9
Tap the pencil tool again and drag the slider to the right for full opacity.
Step 10
Select a small pencil tip.
Step 11
Sketch outlines all around the edges of your subject and inside the white outline.
Tip
Add more details on clothing or hair, and leave the face with little or no sketching.
Step 12
Add light shading where there was shading in the original photo.
Step 13
Choose a different highlighter colour and a smaller tip to fill in clothing or other important items.
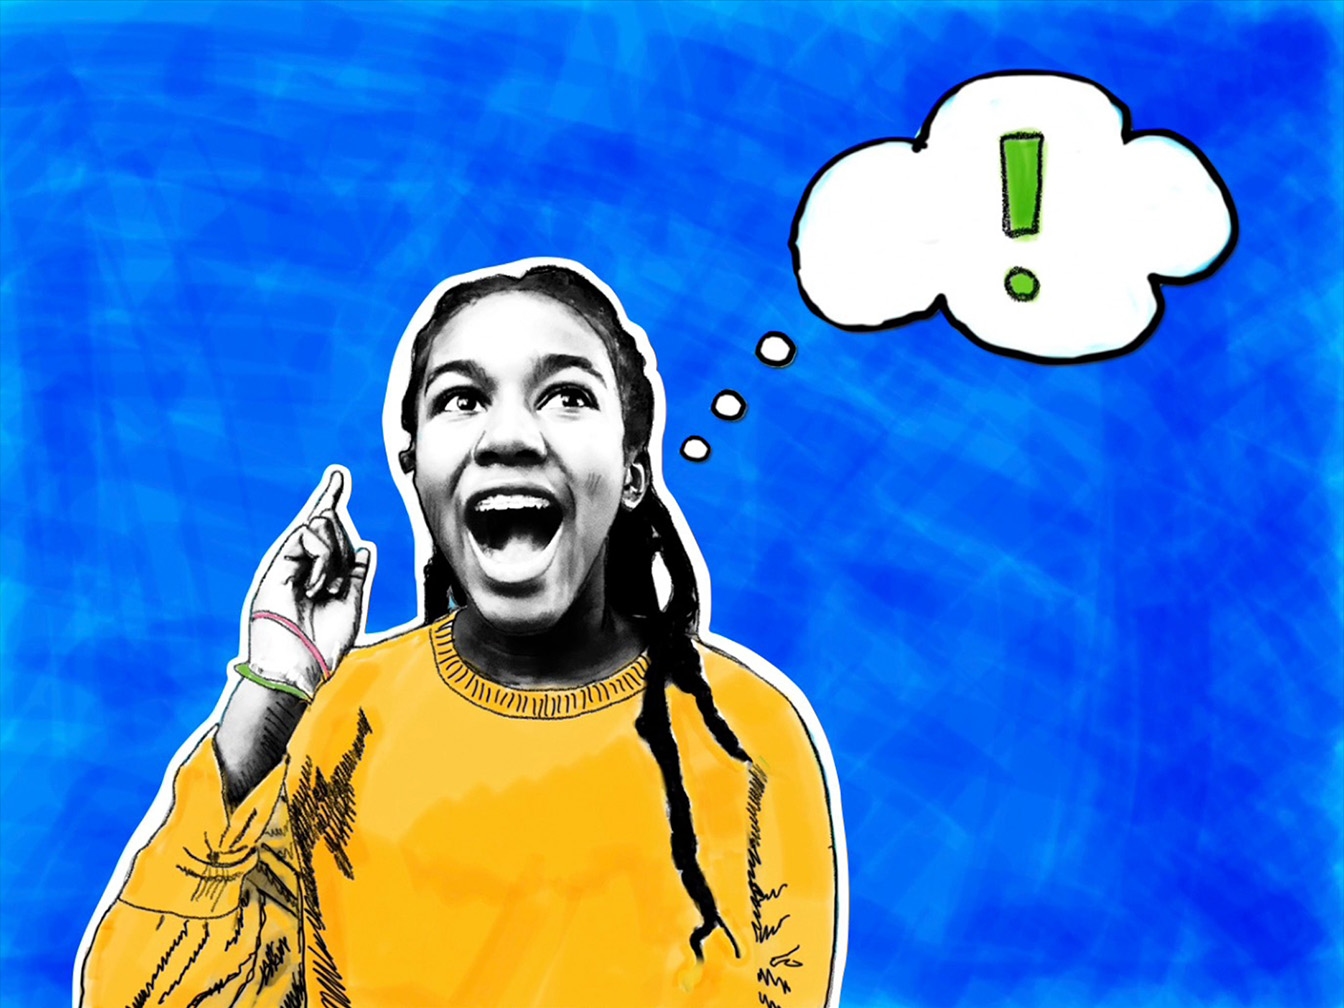
If you want, you can draw objects, doodles, thought bubbles or words to show character or communicate an idea.
Step 1
Use the white pen to colour in an object, such as a thought bubble or doodle.
Step 2
Use a small black pencil to outline your object or add writing.
Step 3
Add doodles or text to show character, express emotion or communicate an idea.
Step 4
Tap Done.
Step 5
Tap Done again. Your edited photo will be saved to your photo library.
Tip
If you make a mistake or want to start over, you can tap Revert to go back to your original anytime.
Tip
Try editing a photo sequence. Then see the Animate with Stop Motion project to learn how to turn it into a frame-by-frame animated GIF.
Tip
You can also edit a photo more than once to make a frame-by-frame Animated GIF.
Tip
See the Make a Motion Graphic project to learn how you can animate your pop art with actions in Keynote.
Tip
Experiment with other ways to use Markup to draw on a photo.
Find stories and resources from educators and get inspired to bring this to your students.
Visit the ForumDiscover more project ideas to get creative with drawing, photos, video, and music.
How likely are you to recommend this project to others?


