One of my favorite animated visuals is continuous line drawing, where a single, unbroken line creates a stunning effect that can be engaging and, in some ways, magical. This technique is a sure-fire way to add variety to your presentations.
The best part is that anyone can do continuous line drawing, and it can be done inside an app you already have, Keynote!
Let's start with the basics: choose an image that isn't overly complex. This initial simplicity is crucial, as it allows you to focus on the fluidity of your line without getting bogged down in details. Planning is your next step. Before your stylus even touches the screen, visualize the route your line will take. Think of it as a roadmap that guides your journey across the canvas.
What I have found in creating a continuous line drawing is there is a lot of versatility in both using your own imagination and drawing ability and tracing from a reference image. For more detailed drawings, I prefer to trace a reference image to get proportions and line flow just right. As I said before, anyone can do this, even if you’re not a natural artist like me!
Grab your iPad and your Apple Pencil and let’s begin.
Next, open the Keynote app and create a new slide deck with blank slides. I prefer to use a dark (preferably black) background and a light ink to maximize contrast. Not only does this create a stunning effect, it makes your artistry much easier to see for everyone.
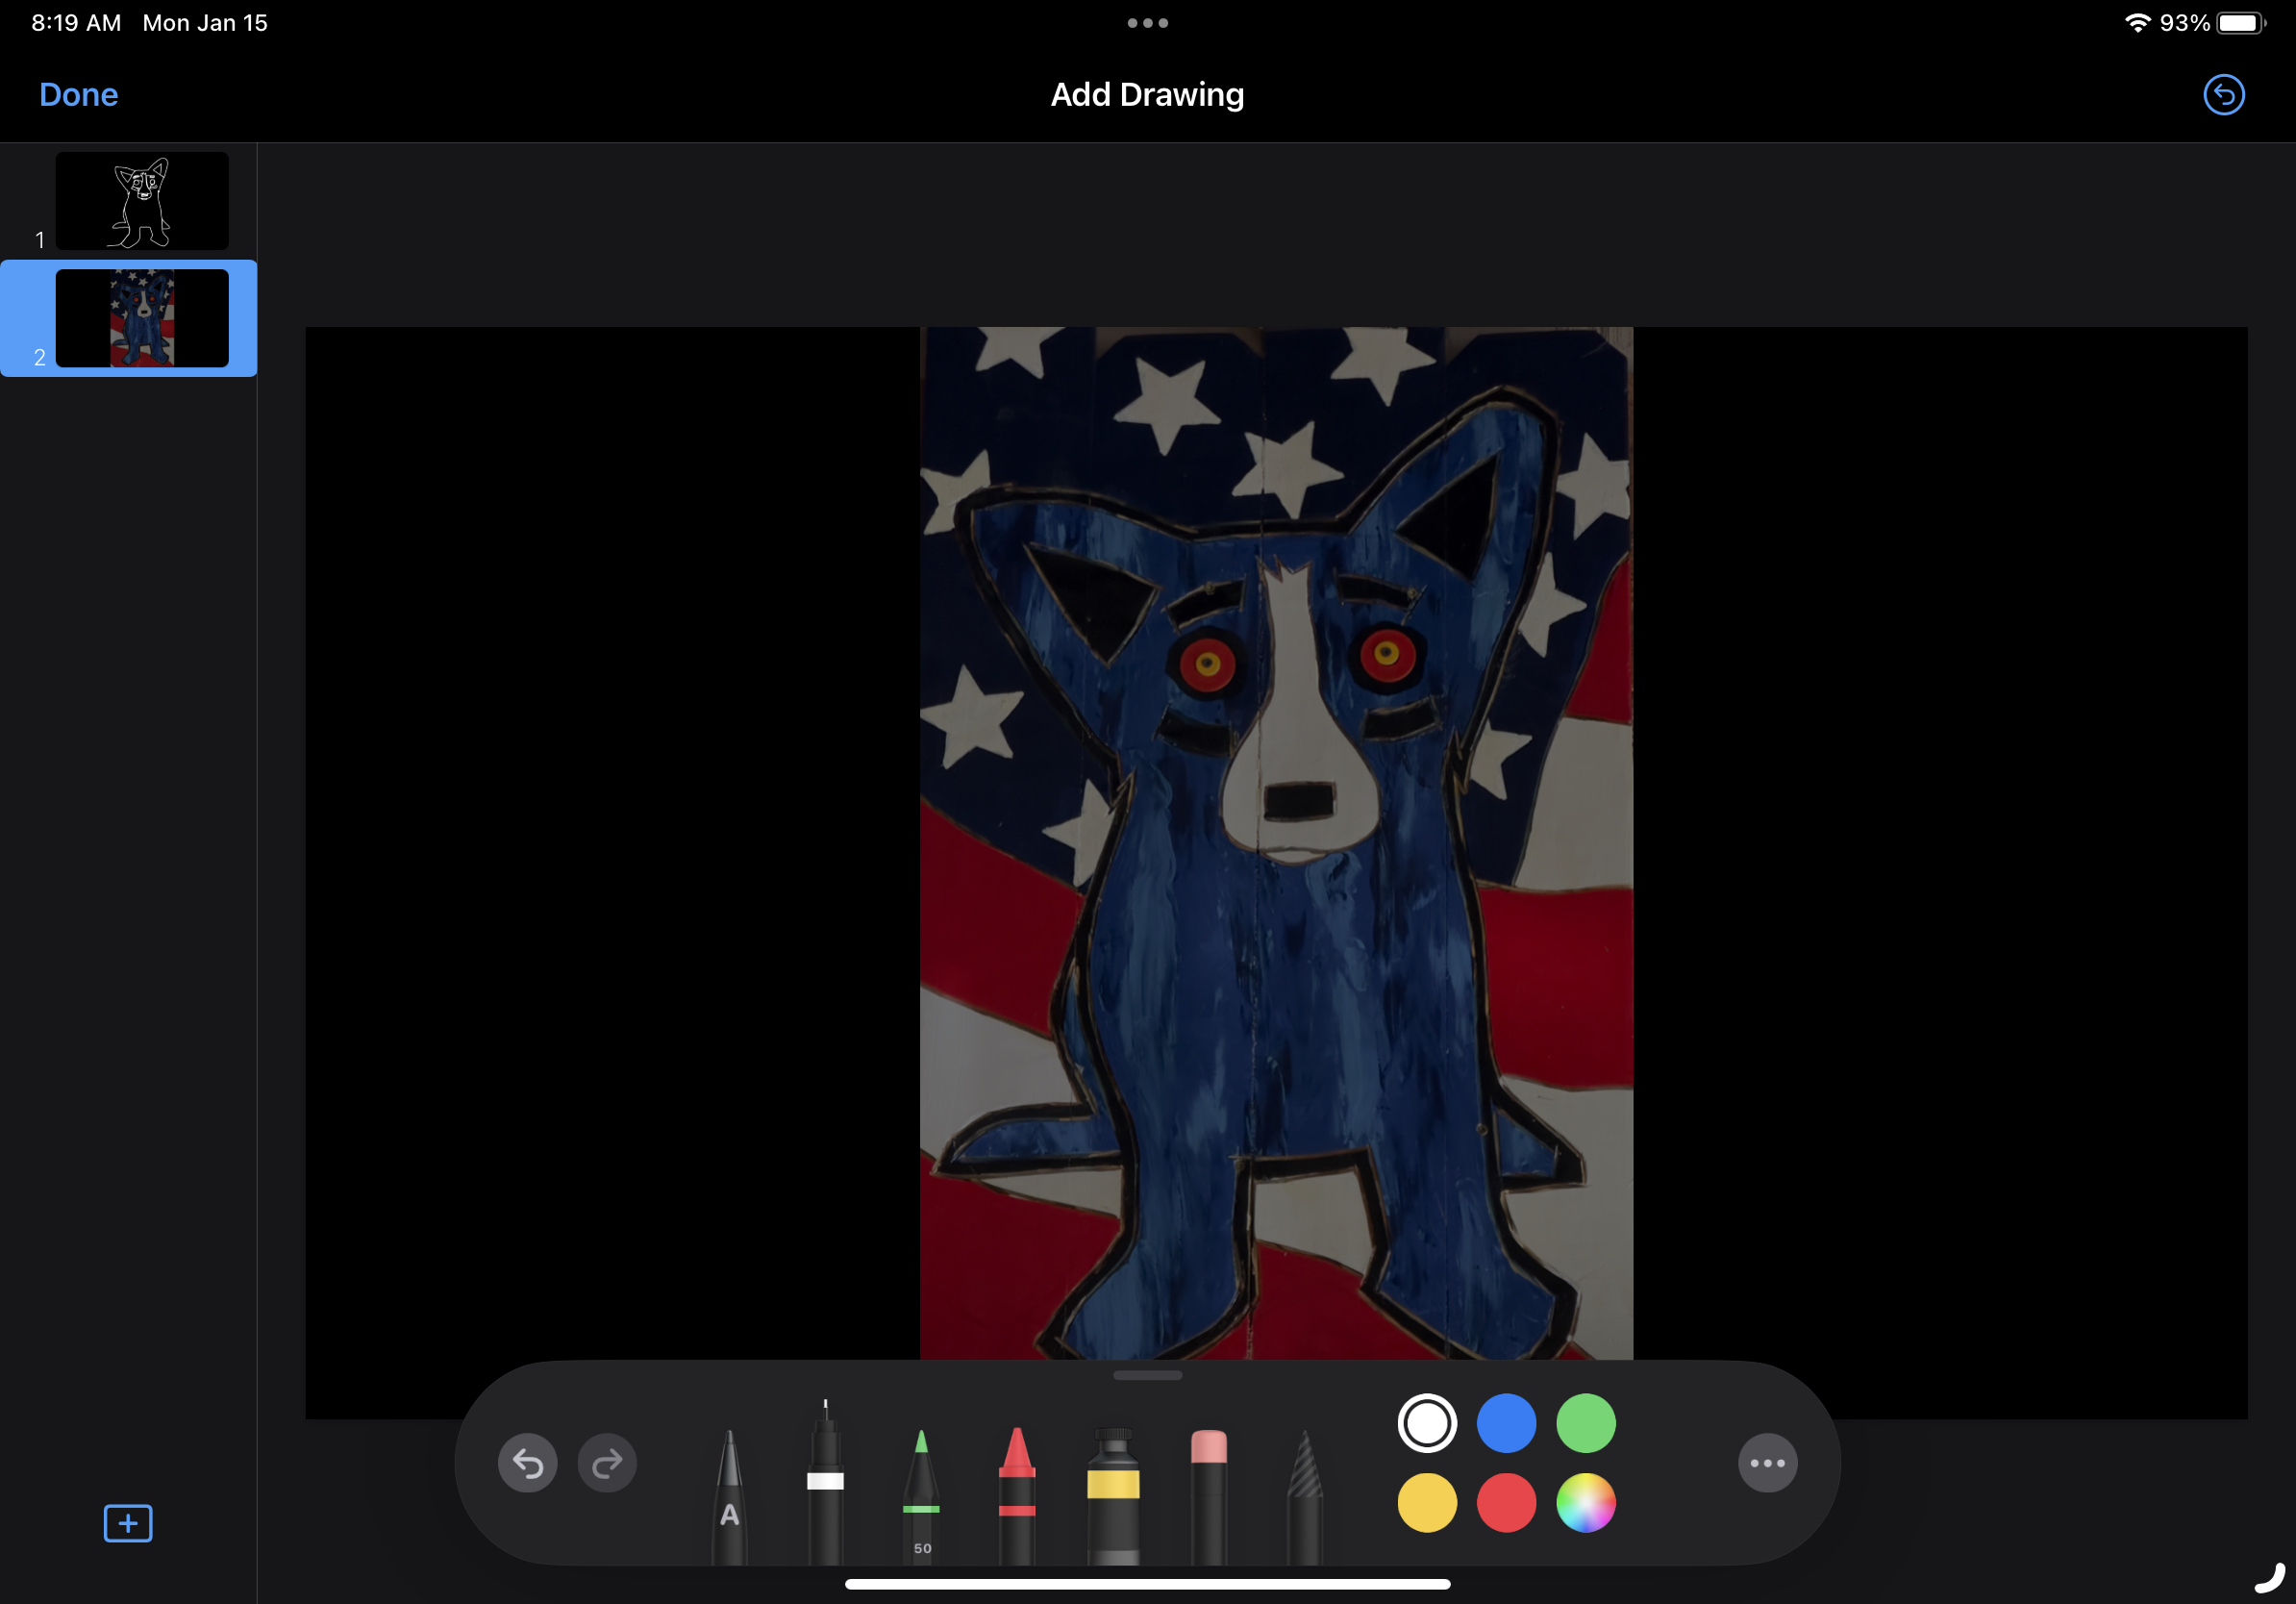
Let’s talk about how to trace from a reference image in Keynote. Copy and paste the image into your slide deck. Remember, if you drag and drop the image into the slide navigator pane, Keynote will create the slide for you!
Okay, let’s take that image and lower the opacity, so you will be able to see your drawing lines more clearly. Select the image and tap on the Paintbrush icon in the upper right of the screen. In the Style pane, lower the opacity to about 45% or whatever works best for you.
Next, we want to lock this image down, so it doesn’t move when we are tracing. Tap on the Arrange tab, and in that pane tap on the Lock object.
Using your Apple Pencil, select the drawing tool that meets your needs. I like using the Pen tool, as it is clean and easy to work with. Remember that you can adjust the thickness and opacity of the Pen tool by tapping on the icon once more after selecting it.
It’s now time to draw. Starting anywhere you wish, begin tracing the object. While tracing seems straightforward, there are a couple of things to consider as you create your drawing:
- You can reverse pinch with two fingers to zoom out so that you can better see the detail of the lines you are tracing. Do note, though, that this may inadvertently cause you to run out of room, as you can see in the video immediately below.
- If you get stuck, either because of fatigue or lack of space on the slide deck, find a joint where stopping the line won’t be as noticeable.
- You can also, as shown in the video below, pinch and drag the image to accommodate your needs and use the hover feature on the Apple Pencil to ensure the new line matches the original line.
Don’t fret if you were wanting a completely continuous line but have to stop from time to time! Because of the speed of your animation, most viewers won’t even notice.
Remember, imperfections can be part of the charm. They add character and uniqueness to your work. If you find a particular section challenging, take a break. Often, a short pause can provide a new perspective.
Also, this can give you motivation to practice. A solid continuous line animation takes lost of practice and patience (not to mention time!).
For me, I have learned that I need to do a better job of planning out the line path so I can see where the joints will be and to determine how to move my stylus (as illustrated in the video below).
I like to start my line off the slide and bring it in from the left. This creates a truly continuous effect. If you read from right to left, simply swap where you start!
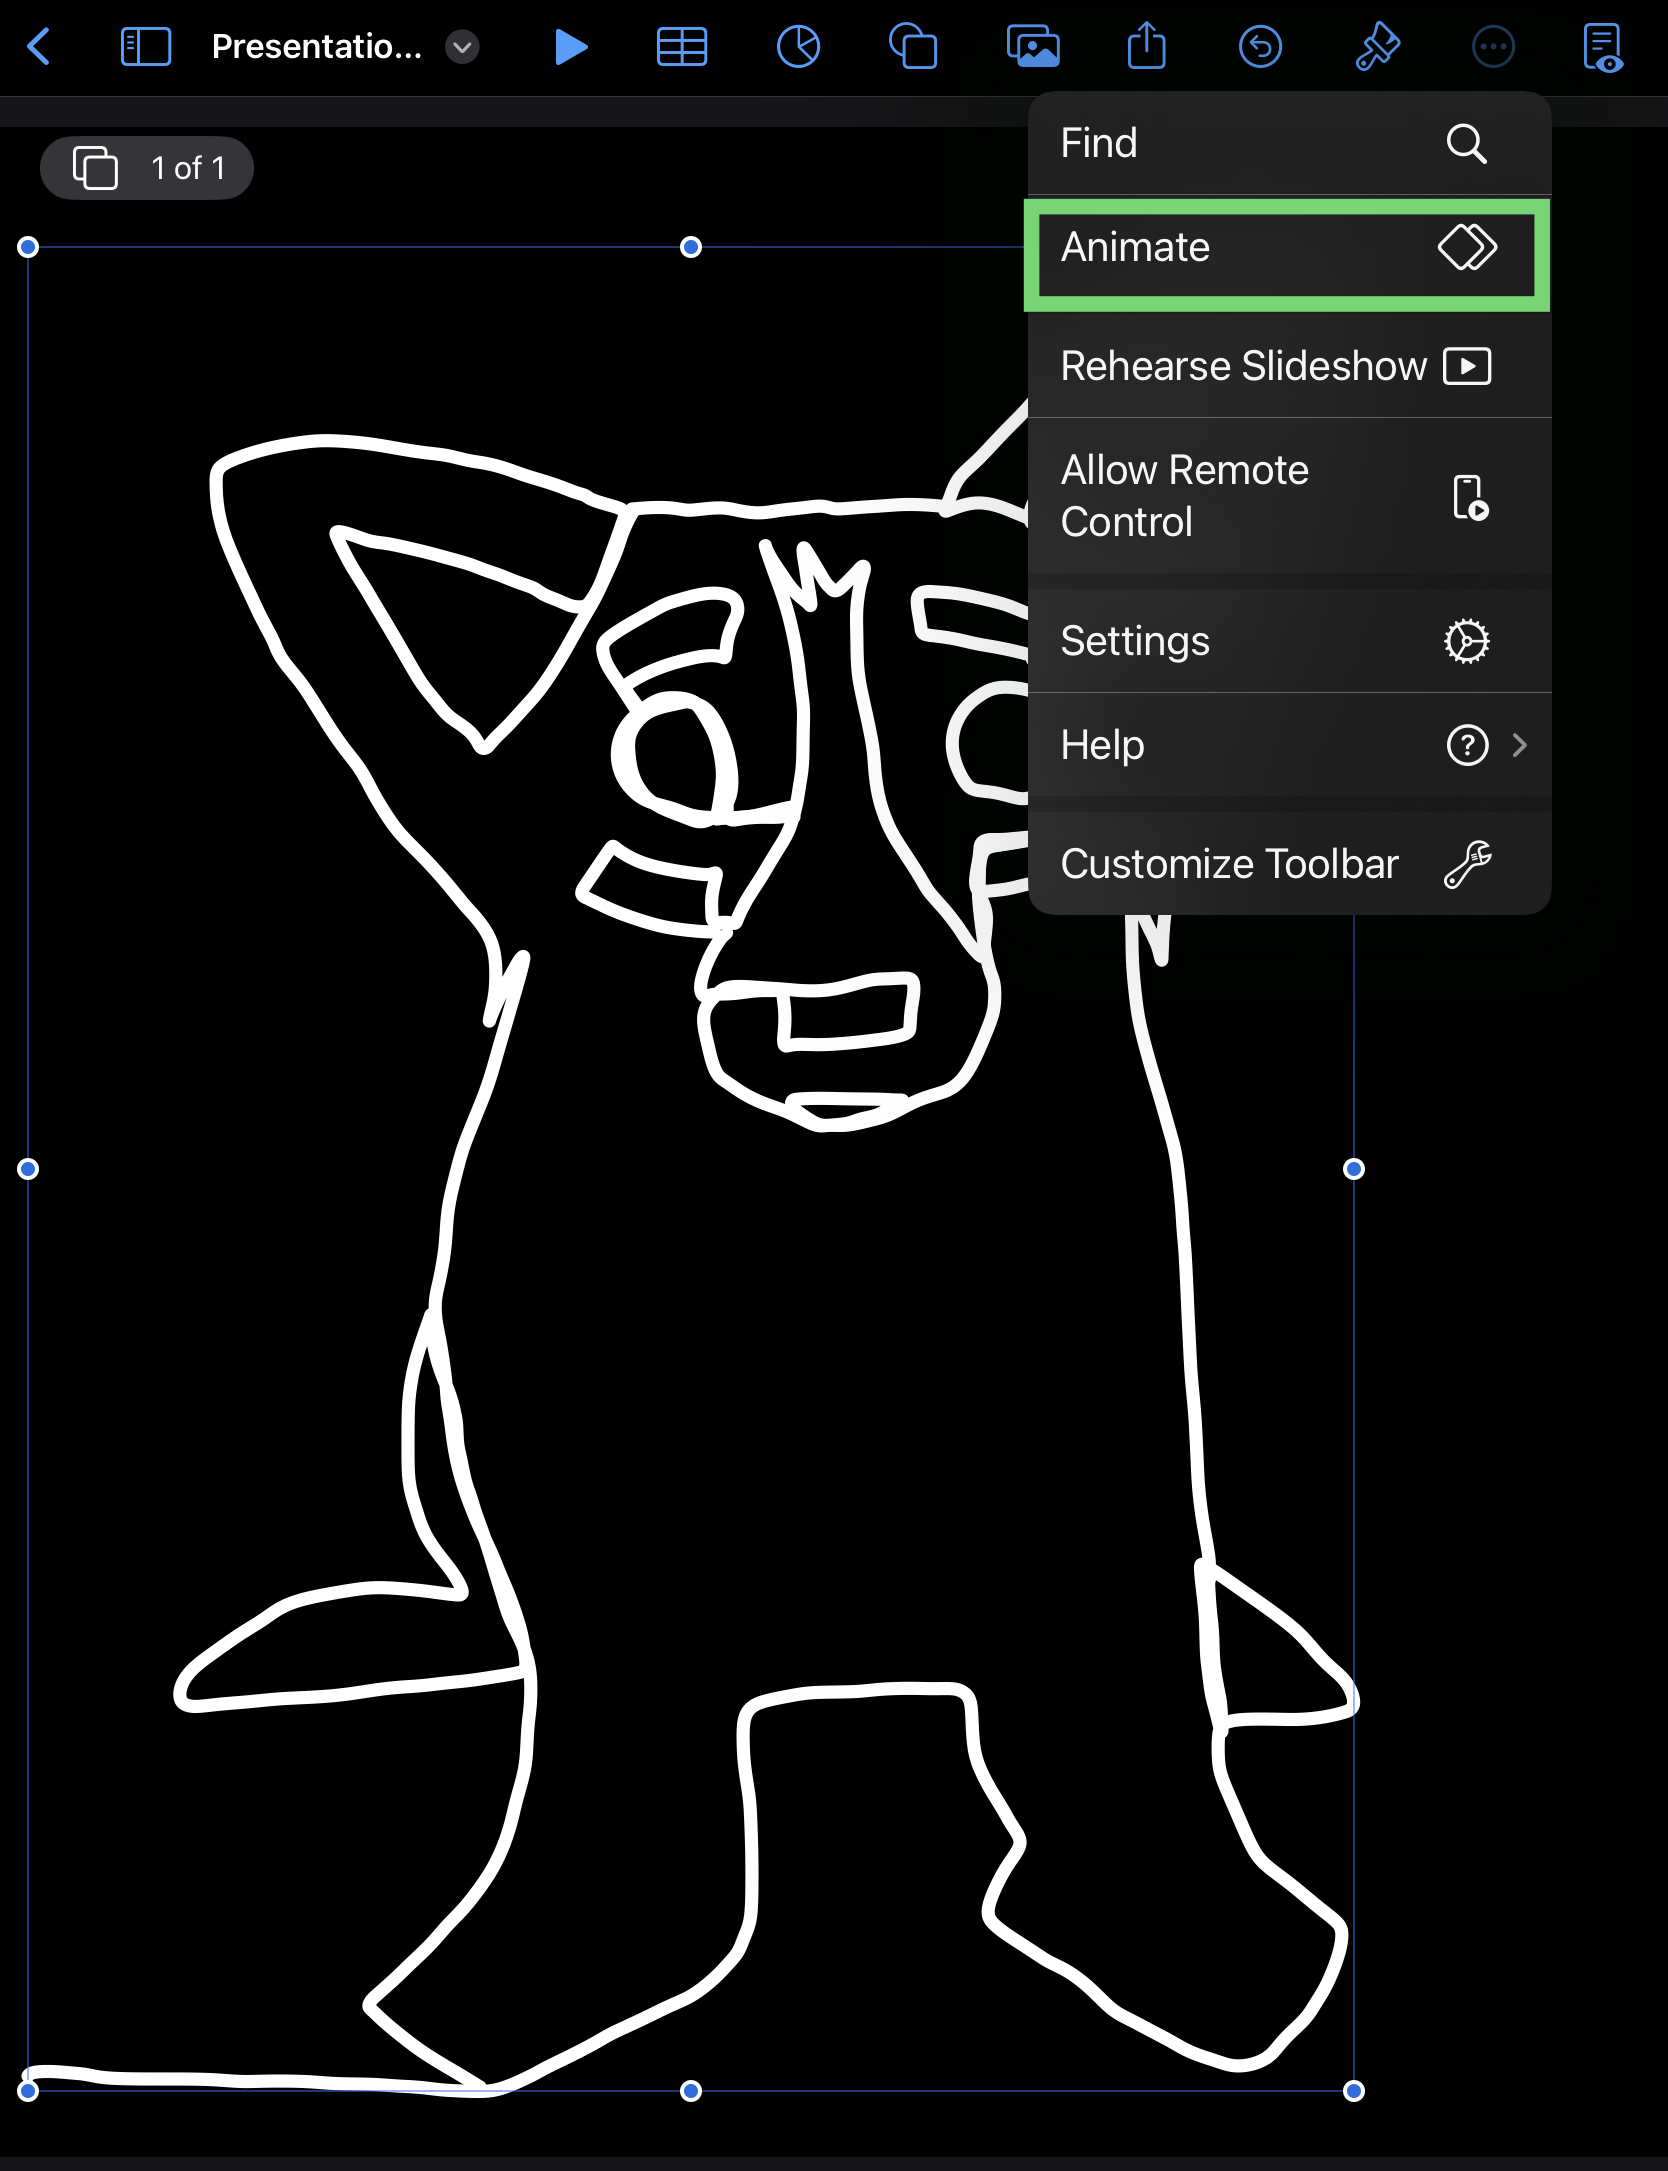
Once you finish your drawing, select, unlock, and then delete the original image. Then, select your line drawing and tap on the ellipsis in the upper right and select “Animate."
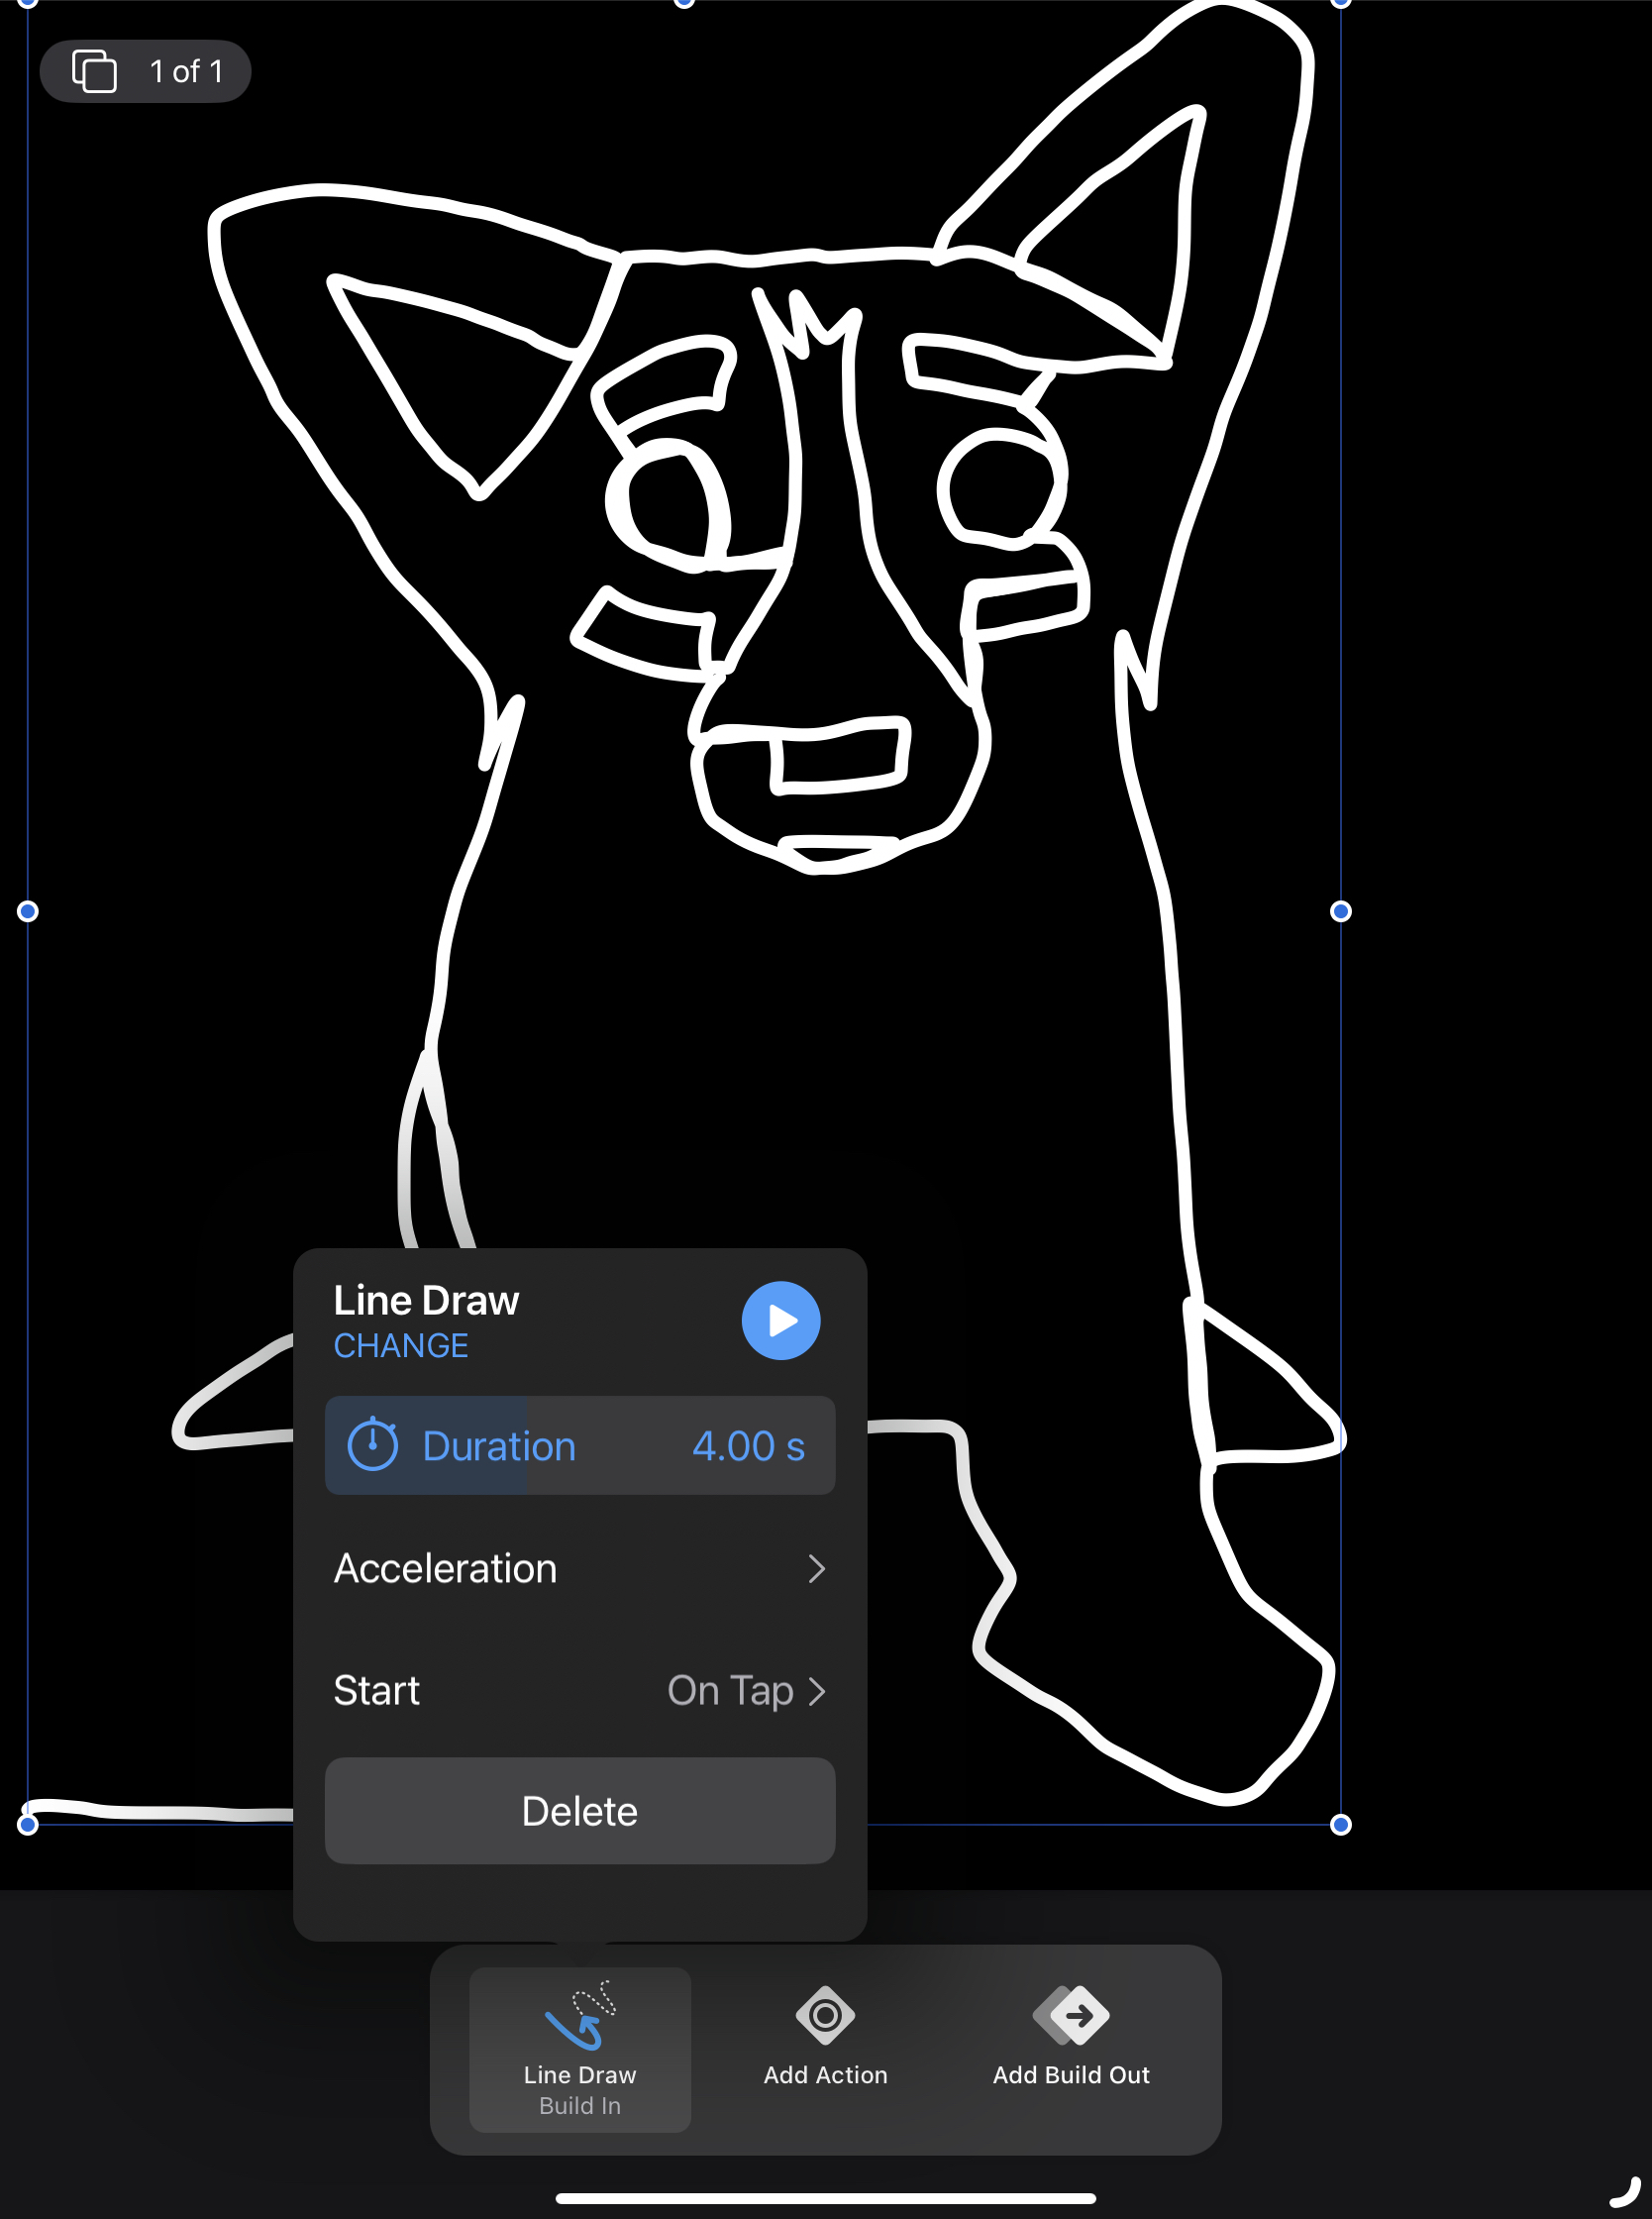
You will then choose “Add Build In” and “Line Draw” (which should be the default).
After the animation previews, and you select “Done,” you can tap on the line drawing anytime and select “Animate” again to adjust the animation length to achieve your desired effect.
The process from start to finish is shown in the video below:
Notice in the following animation that I begin from the left and join several images that I drew and traced on my own. Feel free to vary your drawings and mix and join them for variety.
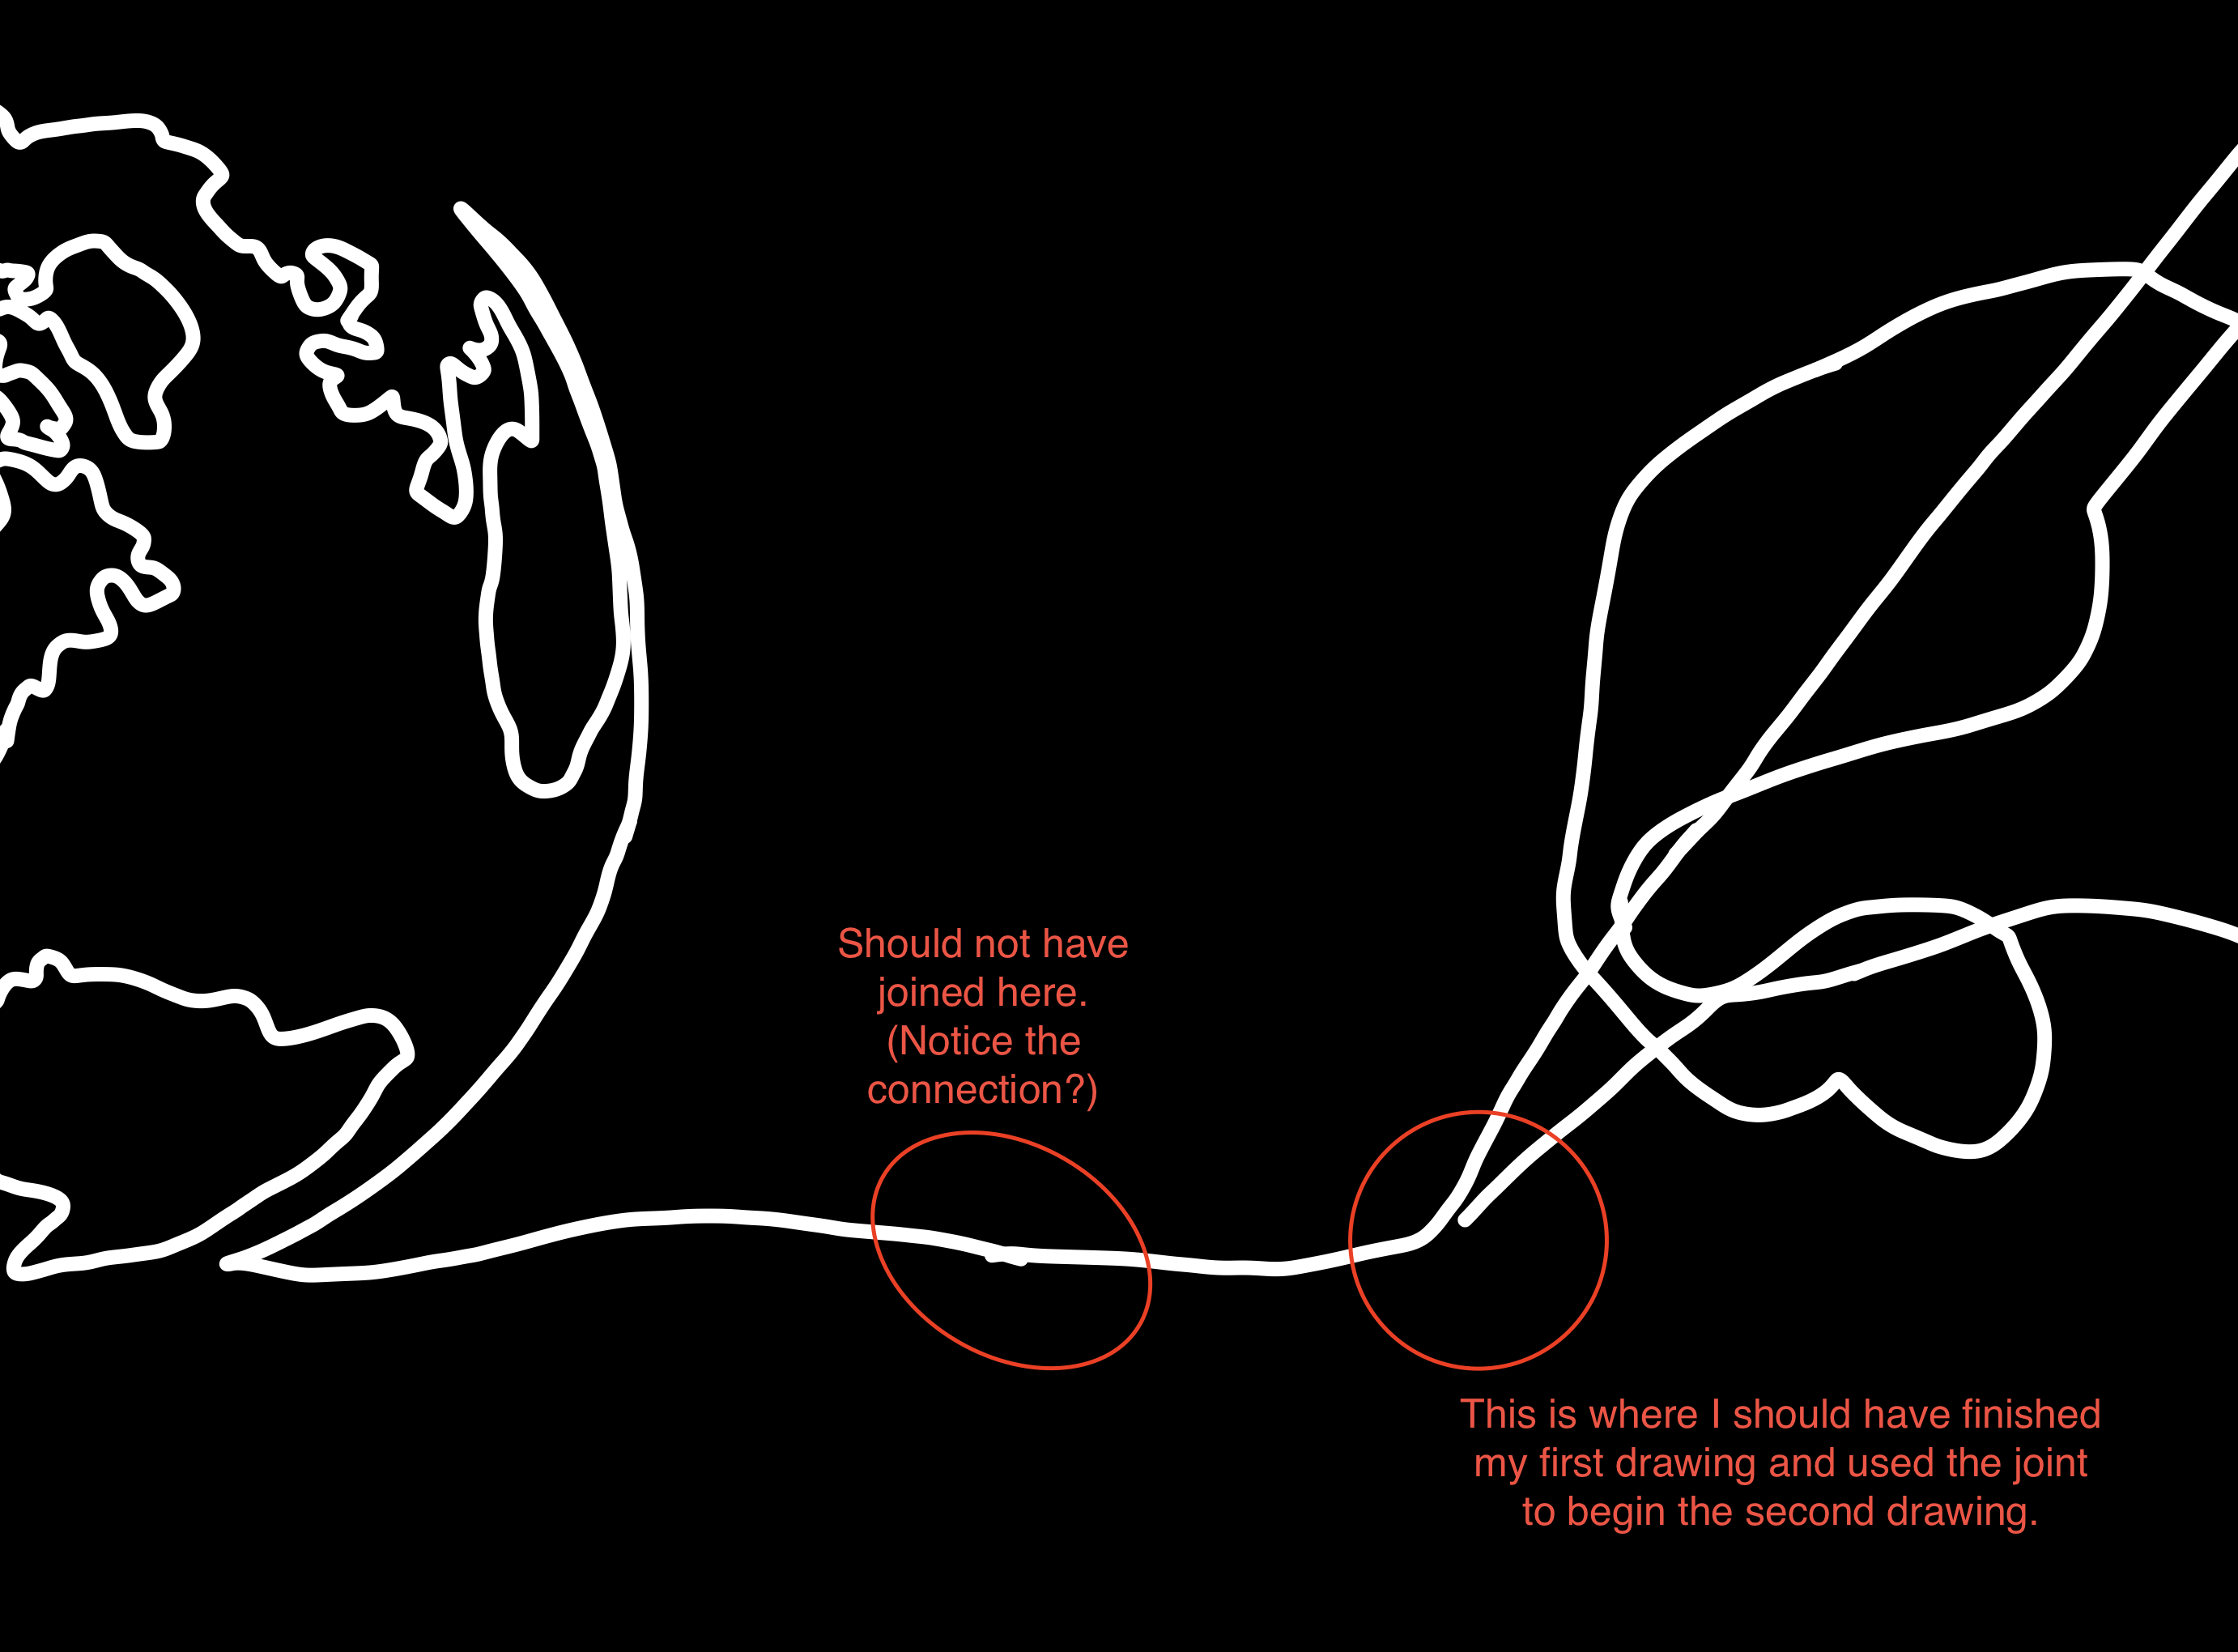
If you look very closely, you may notice there is a point where I join the leftmost image and the one to its right. That was a mistake. Although most viewers may not notice, especially if your line animation is fast, the better technique is to join the images at natural joints, where the human eye expects imperfection.
As you delve deeper, experiment with different styles. Whether it's abstract, geometric, or realistic, each style offers unique insights and challenges. Gesture drawing is another excellent exercise. It trains you to capture the essence and movement of a subject with swift, expressive strokes, which is the heart of continuous line drawing.
In this example, I decided to change the background and add a little color.
Here, I joined all of the drawings I created in the slide deck on one slide. The timing had to be right in the animations, so I made sure the lines that joined each animation were properly placed in the Build Order.
And finally, reflect on your finished piece. What did you learn? What would you do differently next time? This reflection is a vital part of your artistic growth.
By following these steps, you're not just learning to draw; you're embarking on a journey of artistic discovery, where each line you draw is a path of uninterrupted creativity and learning. So grab your iPad and stylus and create something awesome!








January 19, 2024 . English
That is so cool. I love it. I like the ideas you have using the line draw. It is not a way I have thought to use it, but I love that continuous look. You have create great and easy to follow directions. Thank you for the detail.
This action is unavailable while under moderation.
This action is unavailable while under moderation.