Create Green‑Screen Effects
Capture Two Shots
Now that you’ve created a plan, you can go into production to record your background and foreground shots.
Estimated time to complete this tutorial:
10 mins
Now that you’ve created a plan, you can go into production to record your background and foreground shots.
Estimated time to complete this tutorial:
10 mins
The right camera settings can help you compose your frame. You’ll set up your device so you can start capturing shots.
Step 1
From the Home Screen, tap Settings.
Step 2
Scroll to Camera and tap it, then tap to turn on Grid.
The background shot — or plate — establishes the setting of your scene.
Step 1
Mount your iPad on a tripod and place it so the lens points at the background you want.
Tip
You can also stabilize your iPad with objects, such as a stack of books.
Step 2
Open Notes.
Step 3
Review the sketch in your Green‑Screen Plan note.
Step 4
Return to the Home Screen and tap Camera.
Step 5
Choose Video mode.
Step 6
Double‑tap the screen to change the view to widescreen (16:9).
Tip
You can keep the view at full screen, but the video will still record in widescreen.
Step 7
Arrange the frame of your shot to look like your sketch.

Tip
Swipe left or right along the bottom edge of the screen to switch between open apps.
On an iPad with a Home button, swipe with a slight arc.
Step 8
Tap the Record button.
Capture the shot for longer than you think you’ll need, then tap again. You’ll be able to trim the clip later.
Step 9
Each clip that you record is called a take. Record at least two more takes.
Step 10
Switch back to Notes, measure the height of your iPad, and add it to the Green‑Screen Plan note.
Step 11
Write a description for what the light in your frame looks like.
Consider the direction, intensity, and color of light.
Tip
Knowing what the light in your background looks like will help you when capturing the foreground.
For a believable illusion, the foreground shot — or green‑screen shot — should match the look and size of the background shot.
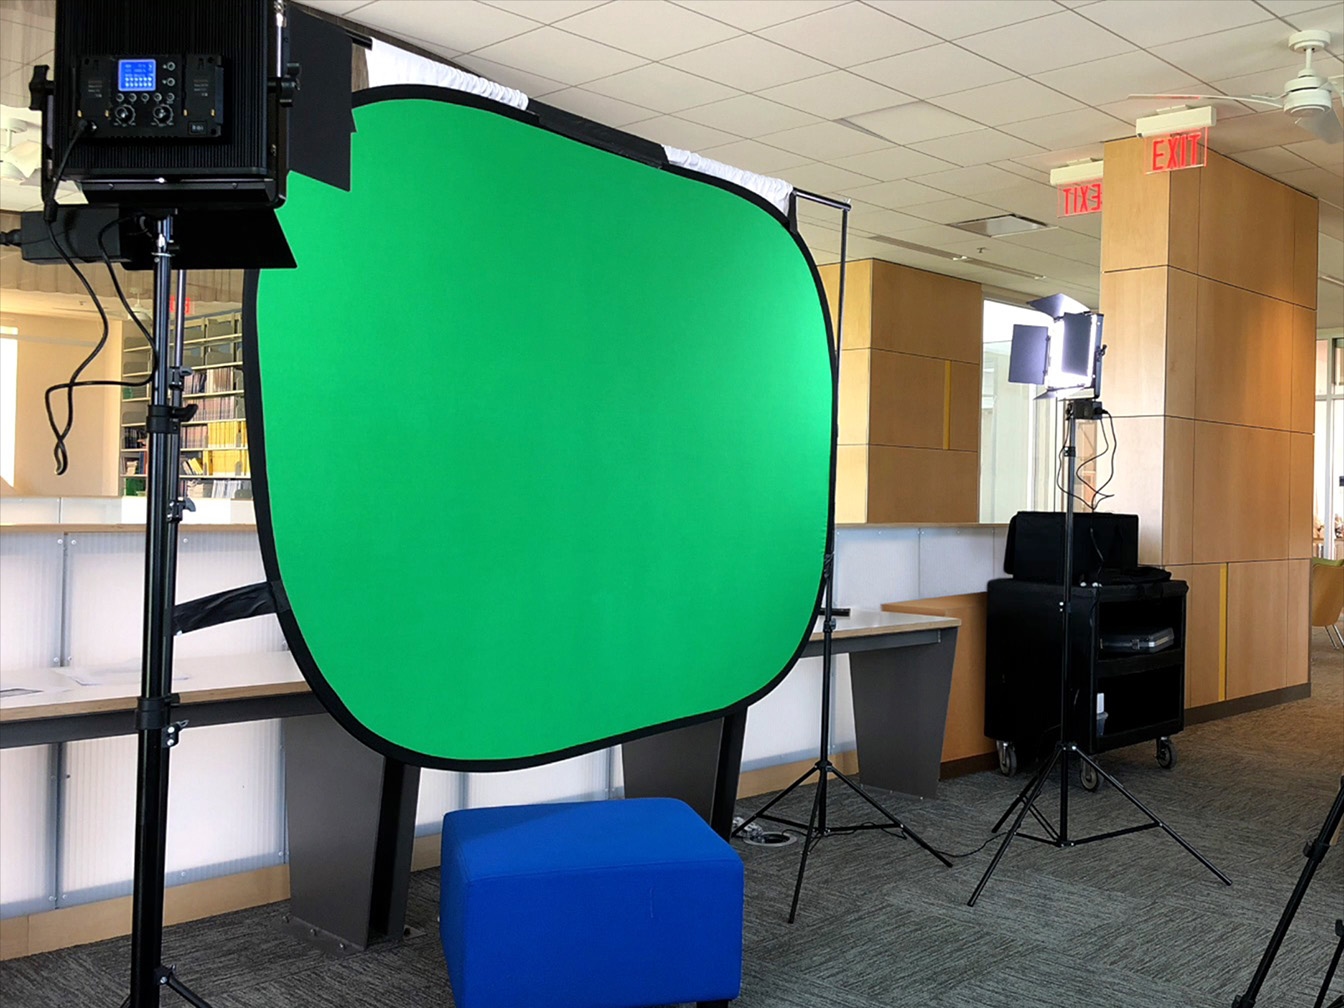
Step 1
Set up a solid blue or green backdrop in a bright area.
Make sure it’s as flat and free of shadows as you can.
Tip
Although green is the most common color used for this effect, you can use other solid colors, like blue or magenta.
Step 2
Set up the camera in front the backdrop.
Tip
It’s OK if the backdrop doesn’t fill the frame. You’ll be able to remove — or matte out — what’s around the backdrop later.
Step 3
Bring the foreground subjects into frame.
Refer to the sketch in your Green‑Screen Plan note to arrange what’s onscreen.
Tip
Avoid having the backdrop color in any part of the foreground so that it doesn’t get removed by the effect, or keyed out.
Step 4
Arrange the lighting of the foreground without adding any shadows to the backdrop.
Refer to the lighting description of the plate in your Green‑Screen Plan note.
Step 5
Record three takes of the action.


