

How can young learners use design thinking, STEM concepts, and digital tools to create sustainable habitats that help plants and animals survive environmental challenges?
In this Grade 5 STEM challenge, students investigated how plants and animals survive in changing environments and designed habitat prototypes that could help living things withstand challenges such as extreme heat, drought, flooding, predators, and habitat disturbance.
The project moved students beyond simply building a model. Students worked as young scientists, engineers, designers, and environmental stewards. They used research, collaboration, prototyping, testing, revising, and storytelling to create habitat solutions that responded to the real needs of living things.

Design Thinking for Young Learners
Design thinking gave students a clear and child-friendly way to solve a real-world problem. Before creating their habitats, students studied the needs of a chosen plant and animal. They considered the living and nonliving parts of a habitat, including sunlight, water, soil, food, shelter, space, weather, and protection from predators.
Students learned that a good design is not only creative. It must respond to actual needs. When parts of their design did not work, students used those moments as evidence. They asked what went wrong, discussed possible improvements, and revised their prototype.
Design thinking became more than a process to follow. It became a way for students to practice empathy, inquiry, creativity, collaboration, and problem-solving.

From Student Ideas to Prototype
In one student sample, learners selected a watermelon plant and a rabbit. Their early ideas focused on access to water, safe shelter, protection from predators, food sources, soil quality, and sustainability.
Each student contributed possible habitat features. Some ideas focused on protecting the watermelon from too much rain, poor soil, and pests. Other ideas focused on giving rabbits a safe space to eat, drink, move, and reproduce.
Before building, students evaluated their ideas as wild, doable, or most feasible. This helped them decide which features to include in their Minecraft Education prototype. They learned that strong designs require creativity, but they also need evidence, practicality, and a clear connection to the problem.

STEM Learning in Action
As students planned their habitats, STEM became visible in every design decision.
In Science, students investigated plant and animal needs, adaptations, survival challenges, and interactions between living and nonliving things in a habitat.
In Technology, students used digital tools to organize ideas, build prototypes, document evidence, and communicate their solution.
In Engineering, students designed and improved a habitat system that could provide protection, food, water, shelter, and environmental support.
In Mathematics, students applied spatial reasoning, scale, area, distance, and resource distribution while planning and building their habitat.
Through this process, students learned that a habitat is not just a space. It is a system where different parts work together to support survival, growth, reproduction, and protection.

Technology That Supported Learning
Technology was used throughout the learning process, not only at the end.
Freeform served as the students’ digital thinking space. Students used it to collect research, organize notes, sketch habitat ideas, compare possible solutions, and document revisions. Freeform helped make their thinking visible from the first question to the final design.
Minecraft Education became the prototyping space. Students transformed their plans into 3D habitat models. Their prototypes showed how the chosen plant and animal would receive food, water, shelter, protection, space, and environmental support.
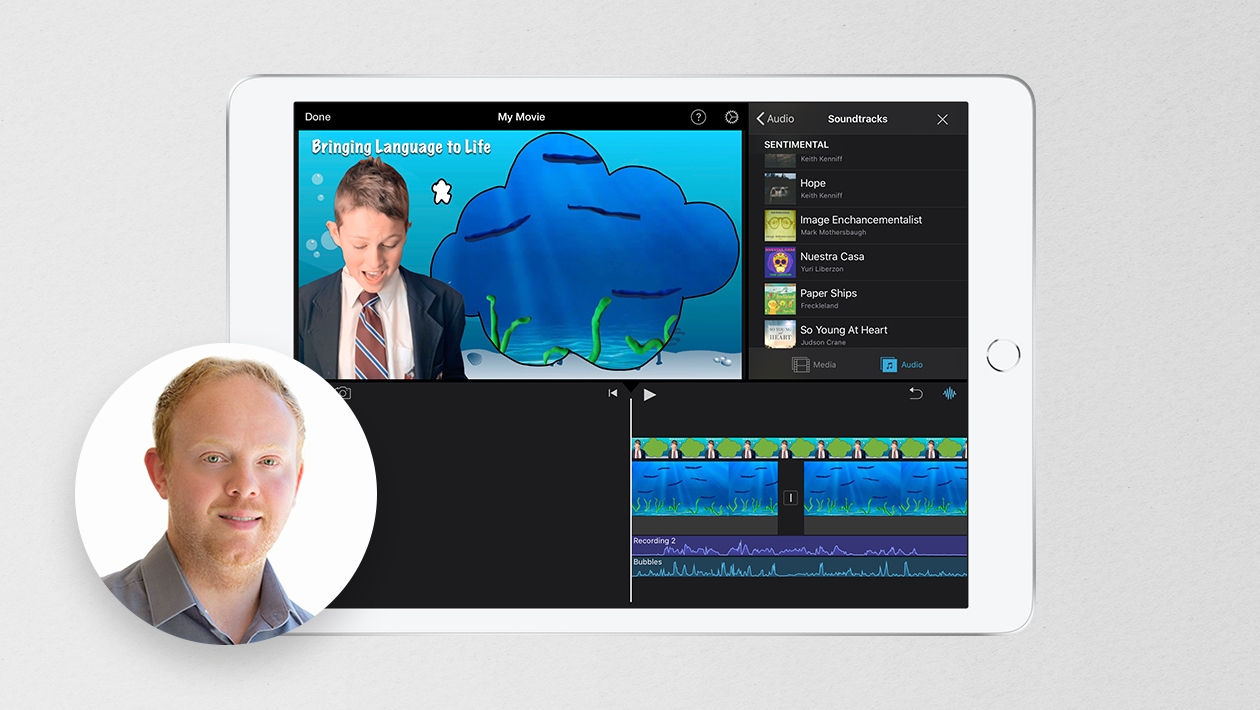
iMovie was used for the Share part of the project. Students created short videos to explain the problem, introduce their chosen plant and animal, show their Minecraft Education prototype, and describe how they improved their design after testing.
These tools supported the full design thinking journey: thinking, designing, building, testing, revising, and sharing.

Building and Testing in Minecraft Education
In Minecraft Education, students turned their design ideas into a habitat prototype. Their build included protected planting spaces, access to food and water, animal shelters, barriers, and safety features.
The prototype helped students test whether their ideas could actually support survival. They looked at how the plant would receive sunlight, water, and protection. They also examined whether the animal had enough food, shelter, space, and safety.
Testing revealed problems that students needed to solve. In one sample, students discovered that an entrance was not safe because predators could still reach the rabbits. They also encountered issues with automated systems that did not work as expected. These problems pushed them to redesign parts of the habitat and improve their prototype.

Improving Through Evidence
One of the strongest parts of the project was the revision process. Students documented what did not work and explained how they solved it.
Their revisions showed authentic engineering thinking. They adjusted mechanisms, redesigned unsafe areas, and improved systems that supported food, water, and protection. Instead of submitting only a finished product, students showed how their design changed as a result of testing.
This helped students understand that improvement is part of learning. A stronger design comes from evidence, feedback, and thoughtful revision.

Sharing the Solution with iMovie
For the final share, students used iMovie to tell the story of their design. Their video included evidence from their Minecraft Education prototype and explained how their habitat helped the chosen plant and animal survive environmental challenges.
Through video storytelling, students explained not only what they built, but why they built it. They communicated the environmental problem, the needs of their chosen plant and animal, the STEM features of their prototype, and the improvements they made after testing.
The final output became more than a presentation. It became a reflection of their thinking, evidence, and design decisions.

Through iMovie, students shared the story of their prototype, explaining how their design changed through testing, evidence, and feedback.
Why This Matters
Designing for Survival helped students experience STEM as meaningful and connected to real life. They used Science to understand living things, Technology to support thinking and creation, Engineering to design and improve a solution, and Mathematics to make their prototype practical.
The project also helped students practice empathy, collaboration, creativity, critical thinking, communication, and environmental responsibility.
Most importantly, students learned that caring for the environment requires thoughtful decisions. Through design thinking, they saw that their ideas, evidence, and digital tools could be used to design with purpose, solve with care, and create solutions for the world around them.
Teacher Resource
A copy of the Designing for Survival Challenge Freeform board is available for download. Teachers may adapt the board to guide students through research, idea generation, prototyping, testing, revision, and sharing during their own STEM design-thinking activities.
.png)







May 30, 2026 . English
This is an amazing resource and lesson sample! Very thorough and well-explained!
This action is unavailable while under moderation.
This action is unavailable while under moderation.