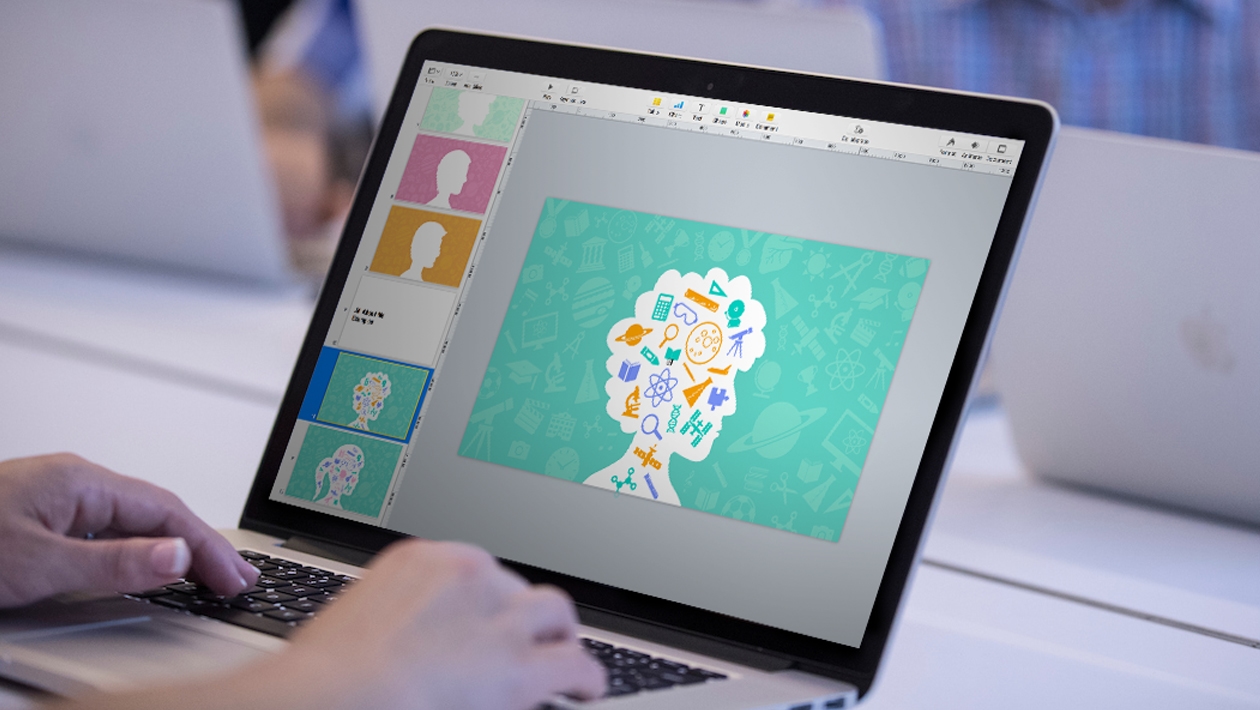
Dive into a world of creativity and discover a fun and engaging way to blend art history with digital design!
Inspired by the Everyone Can Create: Design with Shapes, this open-ended project guides students in creating abstract self-portraits inspired by the bold, fragmented styles of Cubism and Orphism, using the shapes library in Keynote.
Project Context
The project fosters creativity and digital literacy while encouraging self-reflection and exploration. For example, it was originally introduced as a beginning-of-year activity to Grade/Year 1 students as an engaging way to develop their digital skills using Keynote. However, it could be used as a standalone digital art activity, or as a deeper exploration into styles of art or even a focus on famous artists. (Cubism and Orphism are distinct styles of art, with Orphism emerging as an offshoot of Cubism, named after Orpheus in Greek mythology.)
Learning Intention and Success Criteria:
Learning Intention: Learners will experiment with geometric shapes and vibrant colors to create a personal, abstract portrait using digital tools.
Success Criteria:
Learners will:
- effectively use digital tools to manipulate shapes and colors.
- demonstrate creative problem-solving in their composition
- articulate their design choices, regardless of their artistic background.
The Process:
- Art History Introduction: We began by exploring Cubism and Orphism, discussing their techniques and styles and encouraging learners to discuss what they notice and how it makes them feel. This video from the Tate Gallery based in London is a helpful resource to introduce the concept.
- Digital Shape Exploration: Next, the Keynote shapes library was introduced, demonstrating basic tools for manipulating and coloring shapes. Also, using the Break Apart feature under Format > Arrange, learners could use a greater variety of shapes for their design.
- Creating the Portrait: Learners then began to build their abstract representations and exploring their creative ideas through the shape library.
- Sharing and Reflection: Using Apple Classroom, learners shared their creations, discussing their design choices and what their portraits represented.
If learners would like to learn more, this playlist is a great pathway into the world of art and famous artists, like this one based on Pablo Picasso.
Reflection:
This project’s open-ended nature fosters inclusivity and flexibility, and allows for diversity in what their design will look like. The joy of this style of artwork is that it is open to interpretation and even the least confidence artist could have a go. Everyone is creative! In the words of Maya Angelou: ‘You can't use up creativity. The more you use, the more you have.’
Tips & Tricks:
For younger learners, the skills include: using the basic shapes, navigating how to colour the shapes and using the Break Apart feature under the Format > Arrange tab to access more shapes and greater flexibility. Also, becoming familiar arranging shapes using the ‘Move to Front/Back’ feature under Format > Arrange.
For older learners, encourage exploration of advanced Keynote features, such as gradient fills and image masking, grouping shapes, manipulating shapes by changing or combining them, and adding shapes to their shape library.
Lesson Recap:
- This project is adaptable to various contexts and learners of all ages could benefit from the open-ended nature of the project which celebrates creativity. The students really enjoyed the focus on the process of creation, rather than achieving a "realistic" portrait. There could be no ‘mistakes’ in the design.
- This lesson promotes digital literacy in a creative and engaging way.
What could work in your context? Perhaps you might diversify and ask learners to create something instead of a portrait! I would love to hear if you try this or something like it with your students!
Learn to Design with Shapes today >


June 14, 2025 . English
Thanks so so much! Love your work too!
This action is unavailable while under moderation.
This action is unavailable while under moderation.