The Design Process
Across our Junior School we try to keep consistent language around the design process. This has been a combined effort from a number of our Junior School teachers to embed this consistent approach, taken (I think) from the Stanford D School.
In Year 2, one of the ways we approach this is through the use of Numbers as a tool for creating a series of logos for an environmental destination. Students also use Numbers to test the effectiveness of their logos. This really hits the Ideate, Prototype, and Test phases of the design process.
The whole process is contained in a single Numbers workbook, which is distributed to each student via Classwork.
Getting to Grips with Shapes
The first part of the process is getting students to grips with formatting shapes in Numbers.
We start them with a big black circle, and then step them through:
- Selecting shapes
- Changing size and proportions
- Fill colour
- Gradients
- Stroke colour
- Stroke width
- Opacity
- Rotating shapes
- Combining shapes tools
- Grouping shapes
By the time we’ve worked through this they’ve turned their big black circle into something like this:
And they've learned quite a bit about how to format and combine shapes.
The Makerspace
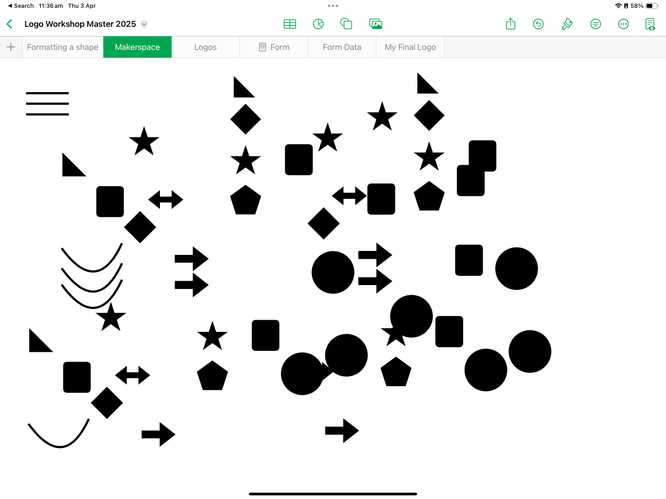
Sheet two of the Numbers workbook is what we call the Makerspace. On this sheet we put a whole lot of basic shapes and lines. Students are only allowed to use these shapes to create their logos. They can duplicate them as many times as they need, but they’re not allowed to go into the shapes library and choose shapes from there. I feel strongly that constraints such as these are an important part of creativity, and so restricting students to these shapes is a crucial part of building their creative capacity.
This also reflects the fact that the real world requires designers to work within the contraints of a design brief. At the start of the process we talk through the constraints placed on designers by clients and end-users, such as materials, colours, dimensions and anything else that a client might want or require.
Students use the shapes in the Makerspace to create as many logos as they can in the time they have. In the process we talk about how shape, line, and colour work to represent different ideas, values or concepts.
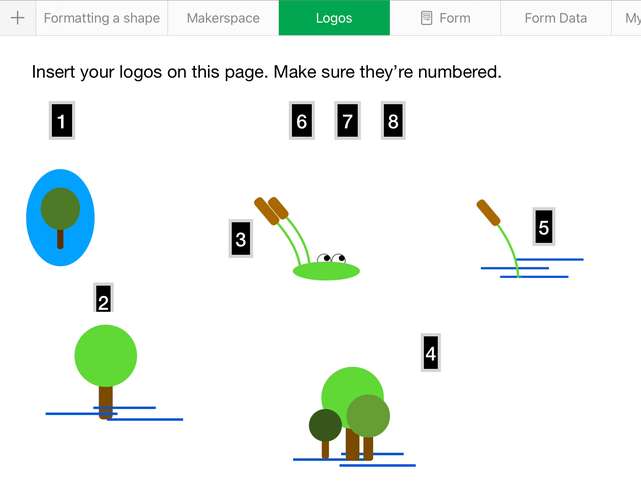
Each time they complete a logo they take a screenshot of it, and put it the screenshot on the Logos sheet of the workbook, assigning each logo a number.
Data Collection/Feedback
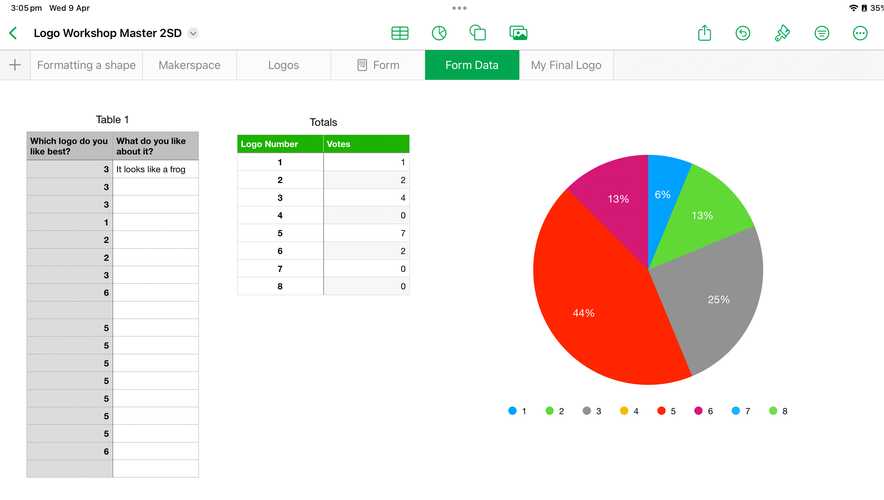
Once students have created a range of logos, it’s time for them to collect feedback on their designs from their peers. The Form tab on the spreadsheet allows them to collect both qualitative and quantitative data. Students are simply asked what their favourite logo is, and what they like about it.
As students collect votes from their classmates, Numbers builds a pie chart showing their results.
My Final Logo
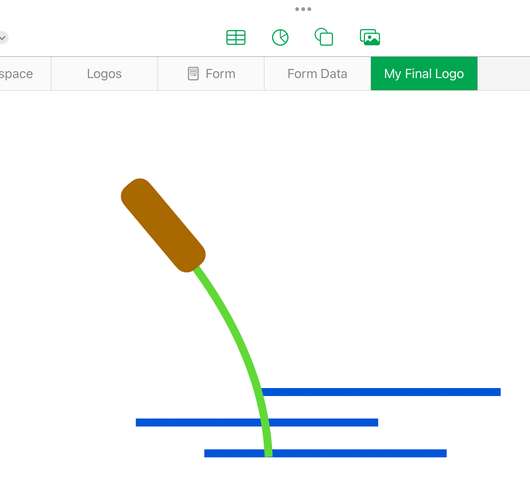
The final part of the process involves students taking on board all the feedback, both qualitative and quantitative, from their classmates. At this stage they can just choose the most popular logo, but some students will choose to incorporate popular features from their other logos into their final design. Sometimes they’ll ignore all the feedback and just go with their favourite. (The most cunning students will engage in some push-polling to try to ensure that they get the result they’re after. )
What We've Learned
By the end of this process students have learned lots about formatting shapes in iWorks applications. They've done this earlier, but an intensive session on how the formatting tools work really sets them up for the rest of the year. They've also started to see the potential of using a form and a spreadsheet to collect data. What we really try to highlight though, is the structure of the design process and the need for them to push their thinking and move beyond their first thoughts about how to approach a problem. Their first logo is rarely their best, and throughout the process they build on and refine their first thoughts.
Please modify and use the Numbers workbook however you feel will benefit your students. I'd love to hear how you've used it.
ShoutOuts
Shoutouts to Lisa Plenty and Janine Crookes, both of whom had a big part to play in the ideas behind development of this resource.




April 17, 2025 . English
Eric!
This is fantastic. Thank you for sharing such detail and scaffolding so it could be applied in a variety of different classrooms and year groups. This is a great example of following the design thinking process and building a constraint into the brief adds another layer of complexity.
Did this learning process occur over a term? Thanks so much for creating this and tip of the hat to Lisa and Janine as well!
This action is unavailable while under moderation.
This action is unavailable while under moderation.