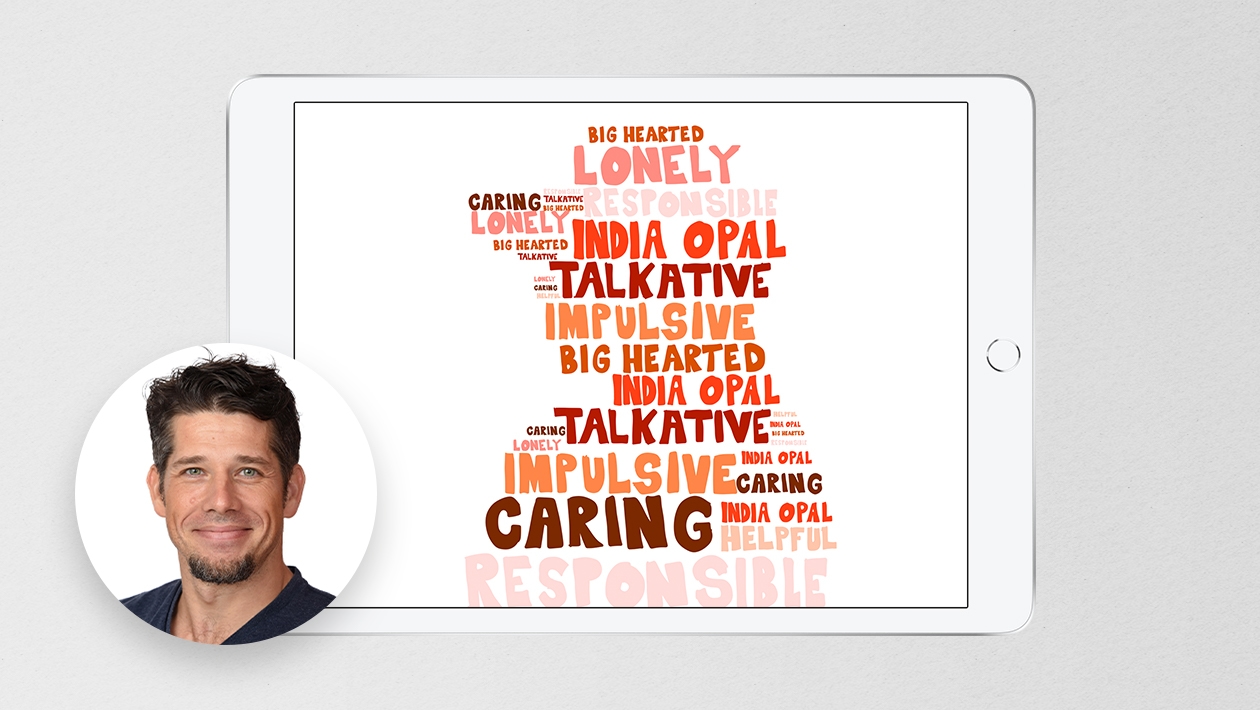
Today I spent some time working with a small group online to explore the Everyone Can Create Projects. Our group took some time to explore the Photo Text Art Project - linked here. I thought I would share a fun activity I've done with the idea, that might spark some more ideas about using Photo Text Art with all ages of children.
Phonics Photography is an idea I had to give young learners the opportunity to use text, photography and animation to create Photo Text Art illustrations using the phonic letter sounds they are learning in Literacy.
Children can practise their phonic sounds in this project by combining text and photography to help them visualise the words they are learning. Using Keynote, they can collaborate on a document to create their word list, filling each word with a photograph of the word and using Animate to spell out each word. The Keynote deck can then be shared as a video or animated GIF for pupils to review at home when learning their sounds.
I chose this project specifically as we spend a lot of time learning digraphs and the concept of ‘two letters, one sound’ can be tricky for some pupils to understand. The aim of this activity is to improve the Literacy skills of my pupils through a clear focus on their digraph spellings. Through taking ownership of the creation of each word, pupils will learn the words with greater ease as they are invested in the project and are exploring the words in a multimodal way.
Learning Intentions:
- Take photographs with some control, thinking about framing and focus.
- Use Photos app to review their own photographs and edit these using editing tools.
- Use Keynote to create their own digital artwork using control and a wide range of tools such as fill, shape, border and shadow.
- Begin to consider elements of art such as colour, line, shape, form, space and texture or pattern.
- Share and review their work, talk about what they did and any improvements they could make.
The Process
- Before assigning this project to my pupils, I created a simple Keynote template containing learning intentions and individual coloured, blank slides for the pupils to work on. Since I am teaching very young learners, I colour coded each slide and added a key to the beginning of the Keynote deck. This key consisted of a photograph of each child in the group, bordered in the colour of the slide they were to work on. This helped to ensure that they didn’t accidentally delete the work of another pupil while exploring the early stages of collaborating.
- I added collaborators to each Keynote deck based on ability groups. I wanted to ensure that pupils were all working with peers of similar ability so that they could focus specifically on a set of words that were differentiated for their ability.
- Pupils began the activity by listing the possible words they could spell using the digraph (in this case, the sound /oo/). Each pupil then chose a word to illustrate.
- Each pupil typed, formatted and sized the word on their individual Keynote slide.
- They used their iPad to change the fill of the text by taking a photograph of a related item. This gave them opportunities to learn about photography, especially the skills of framing, focus and reviewing a shot. Once they were happy with their photo, they used it to the fill the text.
- The final step involved editing the text to add borders, shadow and animation. Pupils chose the animation they wanted to use to present their word.
Extension Activities:
- Pupils take an individual photograph for each letter of the word, animating each letter in turn to spell the word.
- Pupils slow the animation of the word and ask peers to guess which word is appearing.
- Older pupils create a definition of the word to appear alongside the spelling.
- Older pupils export their Keynote deck as images and use them as assets in an Augmented Reality app to share their words with their classmates.
Accessibility and Inclusion
In order to make this activity inclusive and accessible, I focused carefully on the groupings of children I placed in each collaborative group. I was keen to ensure that the project was not dominated by any particular children, or that others felt they couldn’t contribute due to a lack of knowledge about the Literacy element of the task. I therefore had some groups in the class working on digraphs, some on CVC words and other children working on single initial letter sounds. This enabled all children to access the curriculum at a level that suited them. I was also careful about using certain colours, to benefit those children who are colourblind (this is always on my mind as one of my sons is colourblind!).
Assessment
In assessing this task, I was keen to evaluate both the digital skills and the Literacy element. I found that digitally, pupils were a lot more capable of transferring the skills learnt to other activities, such as short stories and talking books. Their photography skills improved, which was observed in an activity later that month involving close photography of things we found in nature. When writing independently, I found that pupils recalled the digraph sounds much more quickly if they were sounds that we had explored using Keynote Word Art.
I hope this gives you a little idea of how you can apply the Everyone Can Create Projects to the area of Literacy and with all different ages of pupils.


November 23, 2023 . English
Love this application of the Create projects to literacy. Thank you for sharing such a useful and extensive overview.
This action is unavailable while under moderation.
This action is unavailable while under moderation.