Show it with shapes.
More than 700 customizable shapes help you create instructive illustrations. You can use shapes to represent almost anything imaginable, whether it’s a character relationship, historical timeline, or biological process.

More than 700 customizable shapes help you create instructive illustrations. You can use shapes to represent almost anything imaginable, whether it’s a character relationship, historical timeline, or biological process.
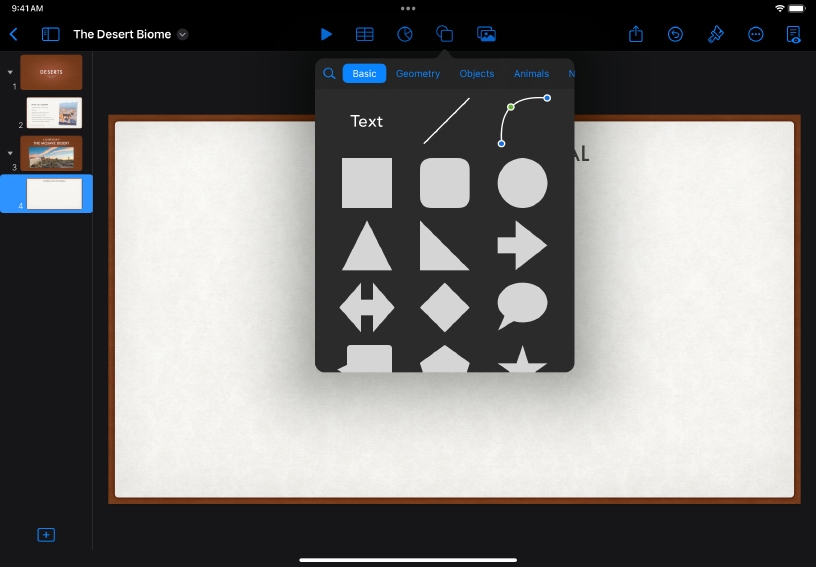
Add a shape. Tap Shape ![]() in the toolbar.
in the toolbar.
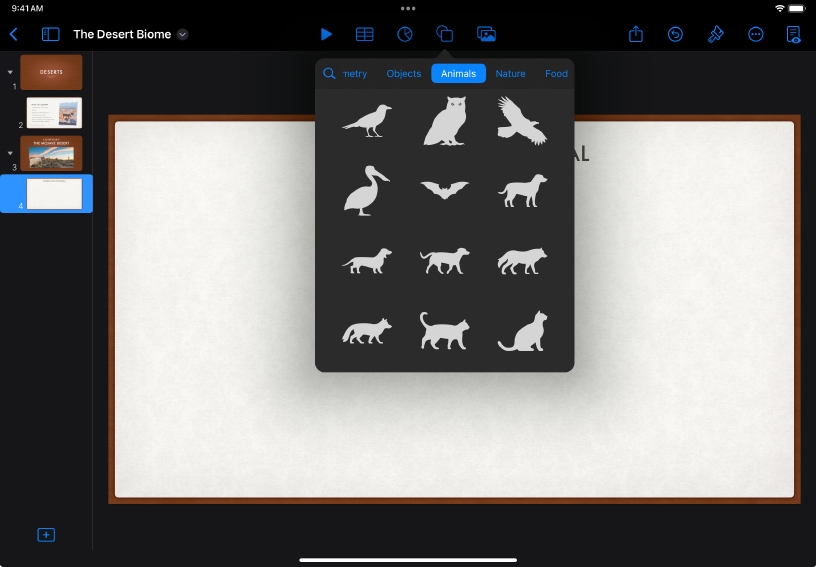
Select a category or tap Search ![]() to search for a specific shape. Tap a shape to add it to the slide.
to search for a specific shape. Tap a shape to add it to the slide.
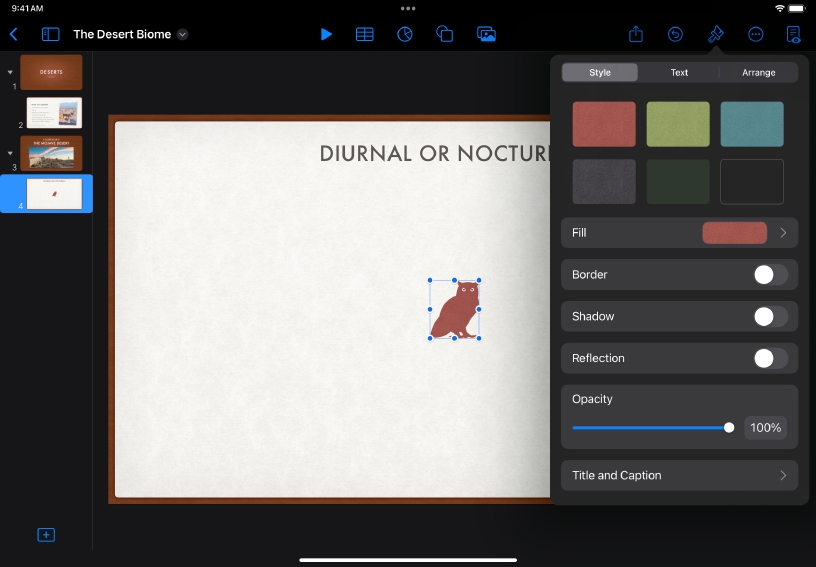
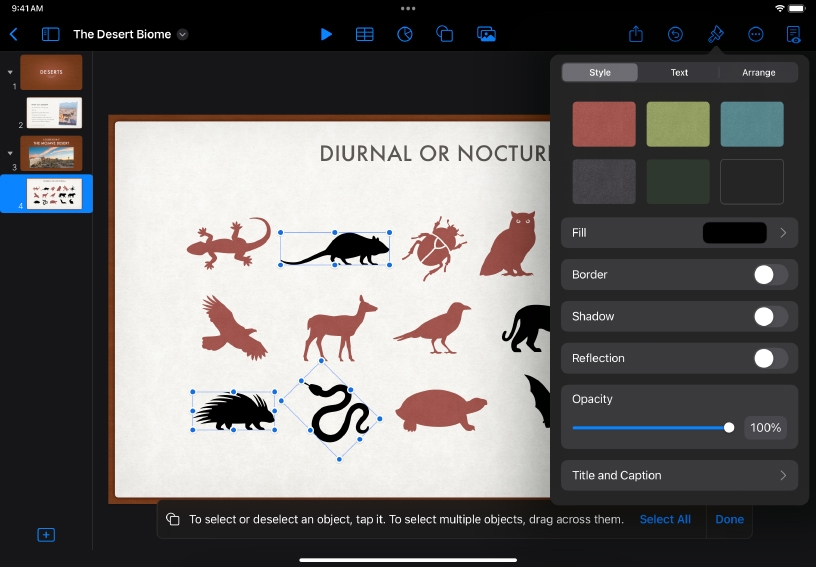
Customize the look of the shape. With a shape selected, tap Format ![]() , then Style. Select from preset styles or tap any option to create a customized look.
, then Style. Select from preset styles or tap any option to create a customized look.
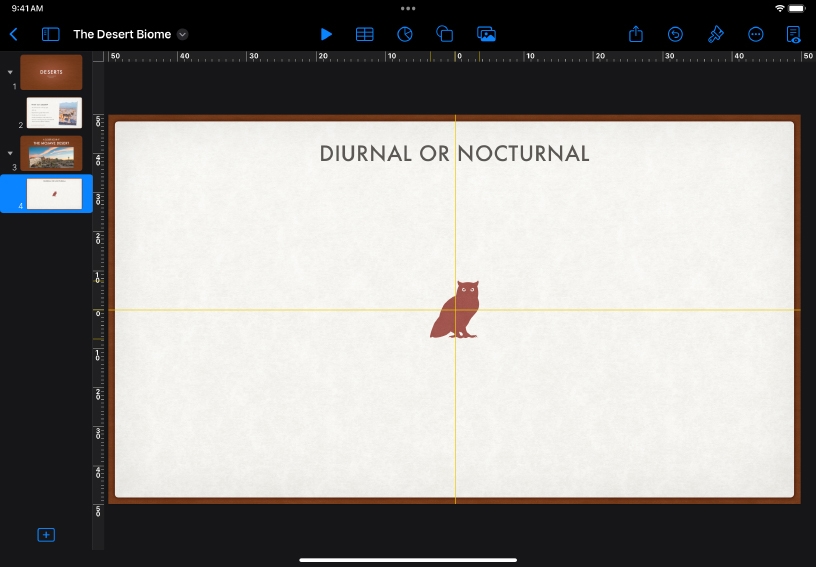
Drag the shape to move it. Yellow alignment guides appear to center the shape on the slide or with other objects on the slide.
Format multiple shapes at once. Tap a shape, then choose Select Objects from the menu. Tap additional shapes to select them, then tap Done. Use the Format tools to change the look of all the selected shapes together.
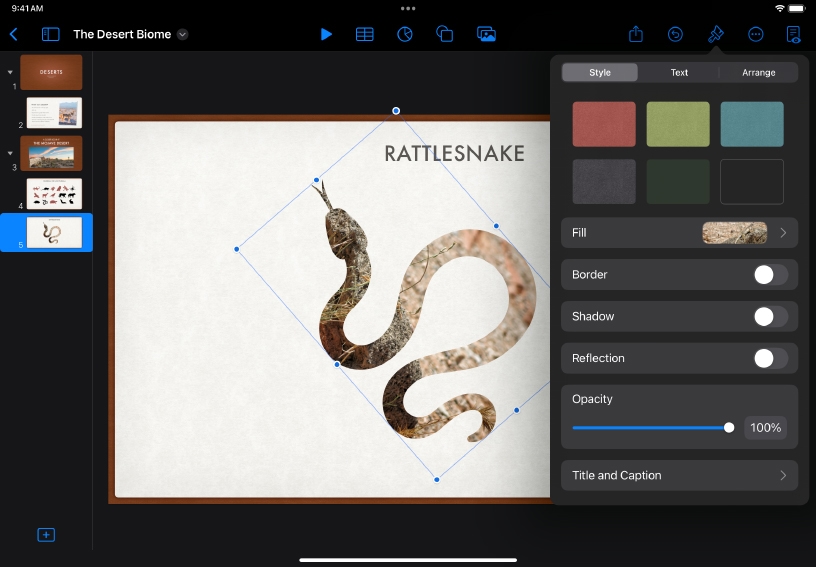
Fill a shape with an image. Select a shape on a slide, tap Format ![]() , then Style, then tap Fill. Tap the Image tab, then tap Change Image and select an image from your photo library.
, then Style, then tap Fill. Tap the Image tab, then tap Change Image and select an image from your photo library.
Recreate fictional or historical conversations using people shapes, speech bubbles, and text boxes. Embellish with flags, hats, or other relevant shapes.
Add a pin or other place shape to a map to identify noteworthy locations. You can also enlarge map shapes to highlight specific regions.
If you don’t find the shape you need in Keynote, you can make your own by combining or breaking apart existing shapes. After creating a custom shape, you can save it to your shapes library so you can use it in other projects
Learn more about combining or breaking apart shapes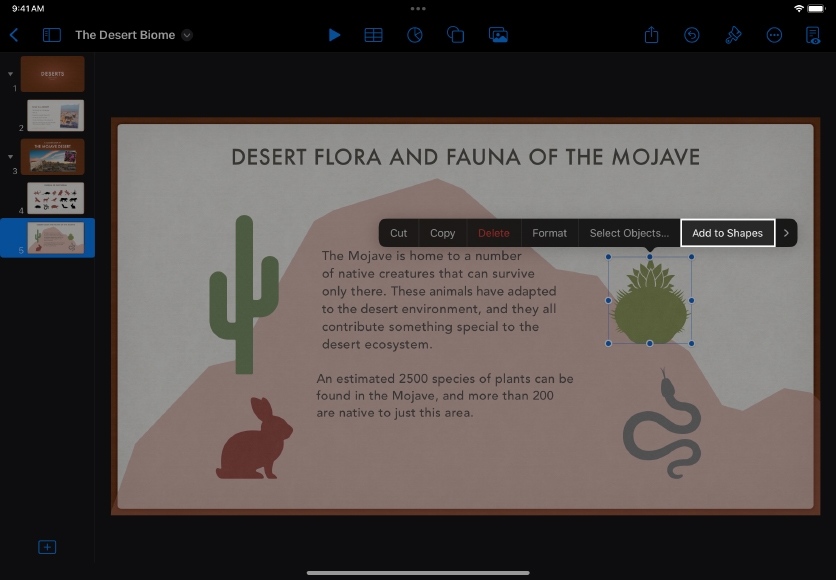
Share what you learned and help others discover the Apple Teacher Program.
A link to this page in the Apple Education Community has been copied to your clipboard.