Express ideas with photos.
Add a photo to your document, drag it wherever you like, and watch text magically wrap around it. Photos can help you enhance your text and bring ideas to life.

Add a photo to your document, drag it wherever you like, and watch text magically wrap around it. Photos can help you enhance your text and bring ideas to life.
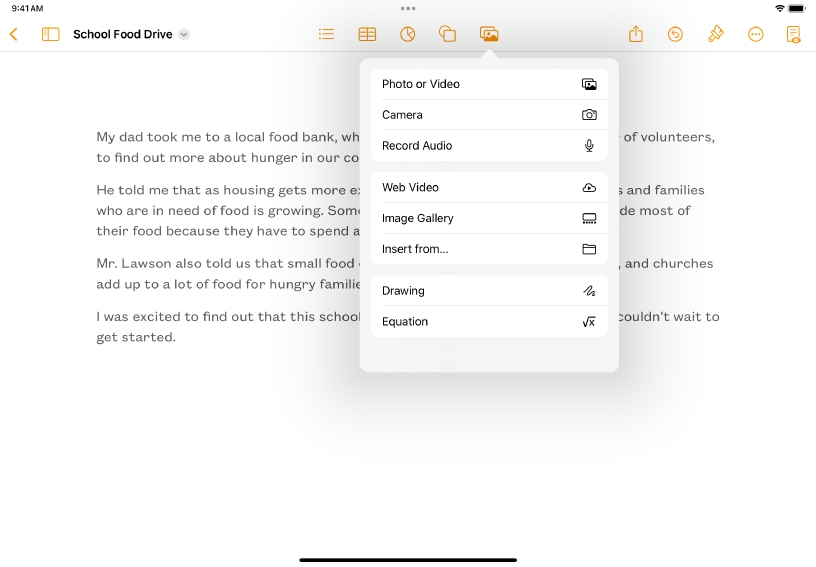
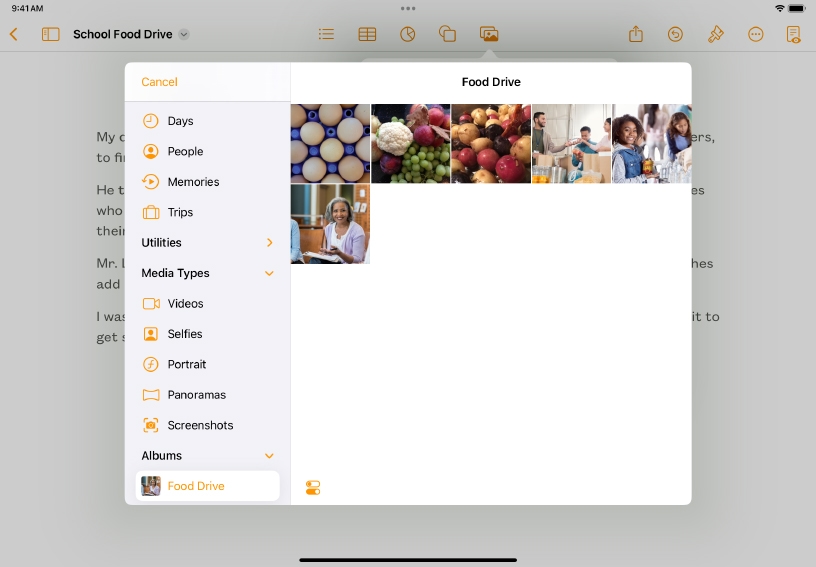




Add a photo. Tap Media ![]() in the toolbar, then tap Photo or Video.
in the toolbar, then tap Photo or Video.
Find the photo from your library that you’d like to use, then tap to add it to the page.
Resize. Drag one of the selection handles to make the photo larger or smaller.
Rotate. Tap to select an object, then tap Format ![]() , tap Arrange, then tap Rotate. Alternatively, you can touch and hold the photo with two fingers, then rotate your fingers.
, tap Arrange, then tap Rotate. Alternatively, you can touch and hold the photo with two fingers, then rotate your fingers.
Reposition. Tap and drag the photo to move it. Text will automatically wrap around the photo in word processing documents.
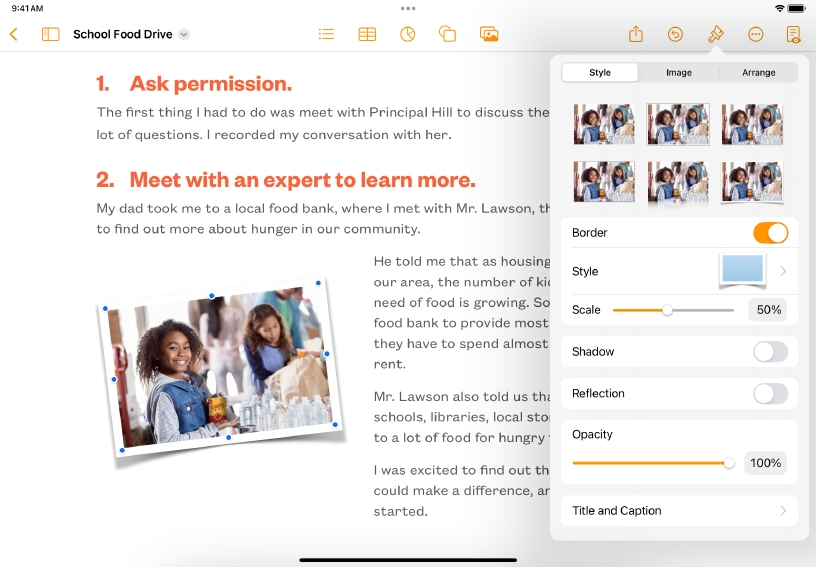
Format. Tap Format ![]() , then Style. Select from preset styles or tap any option to create a customized look.
, then Style. Select from preset styles or tap any option to create a customized look.
Add an accessibility description. Switch to the Image tab, tap Description, then type a brief description into the text box. This text will be used by assistive technology, such as VoiceOver.
Support vocabulary comprehension by taking photographs of everyday objects. Resize the images to fit more than one on a page.
Make a photographic organizer for areas in a classroom or lab that shows students where everything goes. Add object labels for enhancing consistent terminology and vocabulary development.
With the Remove Background tool, you can remove an unwanted background from an image, keeping only the subject. With the background gone, surrounding text wraps directly around the subject in the foreground, creating a more interesting page layout.
Learn more about removing backgrounds and other elements from a photo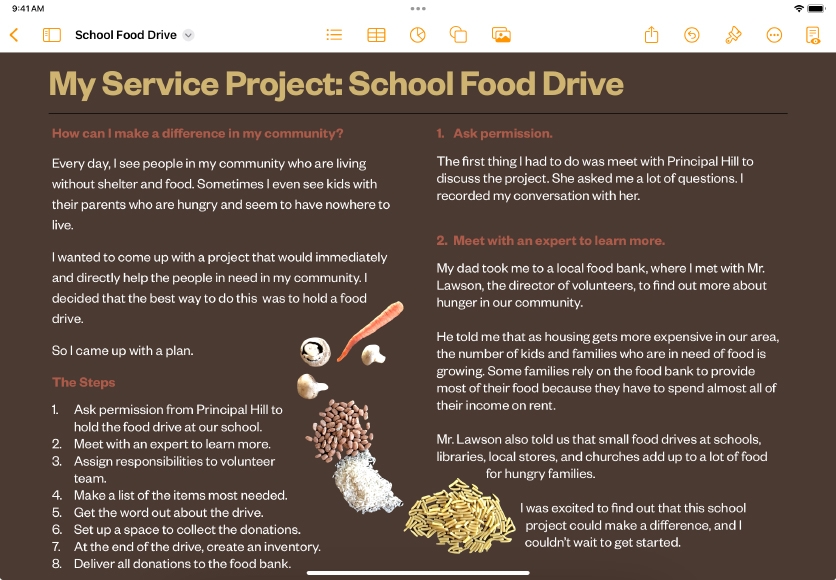
Share what you learned and help others discover the Apple Teacher Program.
A link to this page in the Apple Education Community has been copied to your clipboard.